
Tutorial: Setting up the Film Production Hub Notion template
My last post “Organizing the prep” talked about using Notion to create a shared online collaboration platform for film productions. As a result of years of building on Notion for my own projects, I decided to turn that experience into a template that you can now purchase on the Notion Marketplace. I recommend reading the blog post first, to understand the philosophy behind, and then diving into this post which will give a short introduction to how you set up and use the template.
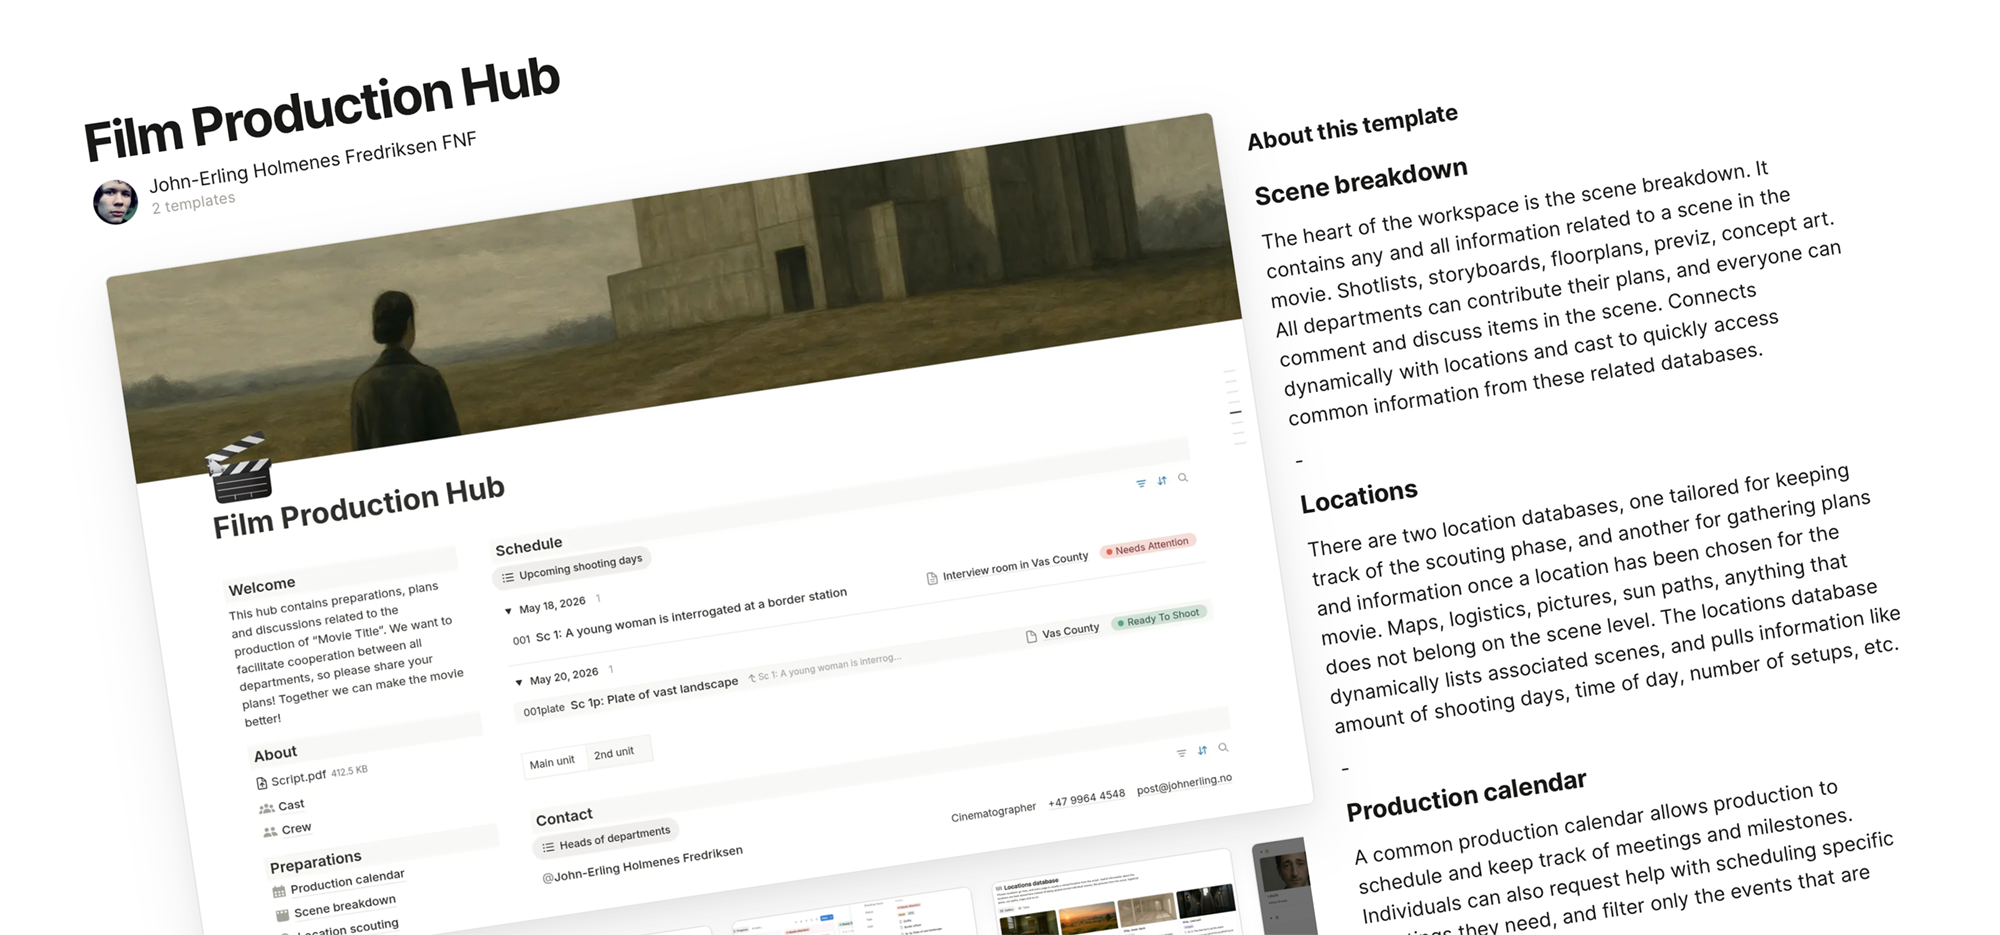
My listing on the Notion Marketplace
First things first. Notion is a piece of software. My template is a product you can buy within Notion. As a user of the Film Production Hub, you are paying me a one-time fee for my template that customizes Notion, but you also need to pay Notion if you want full access to all the features of their software.
As the person on your team responsible for setting up the hub, you should probably have at least the Notion Plus subscription. Everyone participating won’t need it, but anyone who wants access to more features and/or larger file uploads should probably get it. Especially creative heads of departments might need to upload larger files, and the host probably needs the plus subscription to access all features of the template, as well as the 100 guest seats you might need to onboard team members who don’t get plus. I have not tested setting up the template without a subscription, but from what I can read about the pricing tiers, I wouldn’t recommend buying the template without it. There are more expensive tiers with extra guest seats and features, as well as separate AI add-ons, but these are in my opinion optional. You can read about them here.
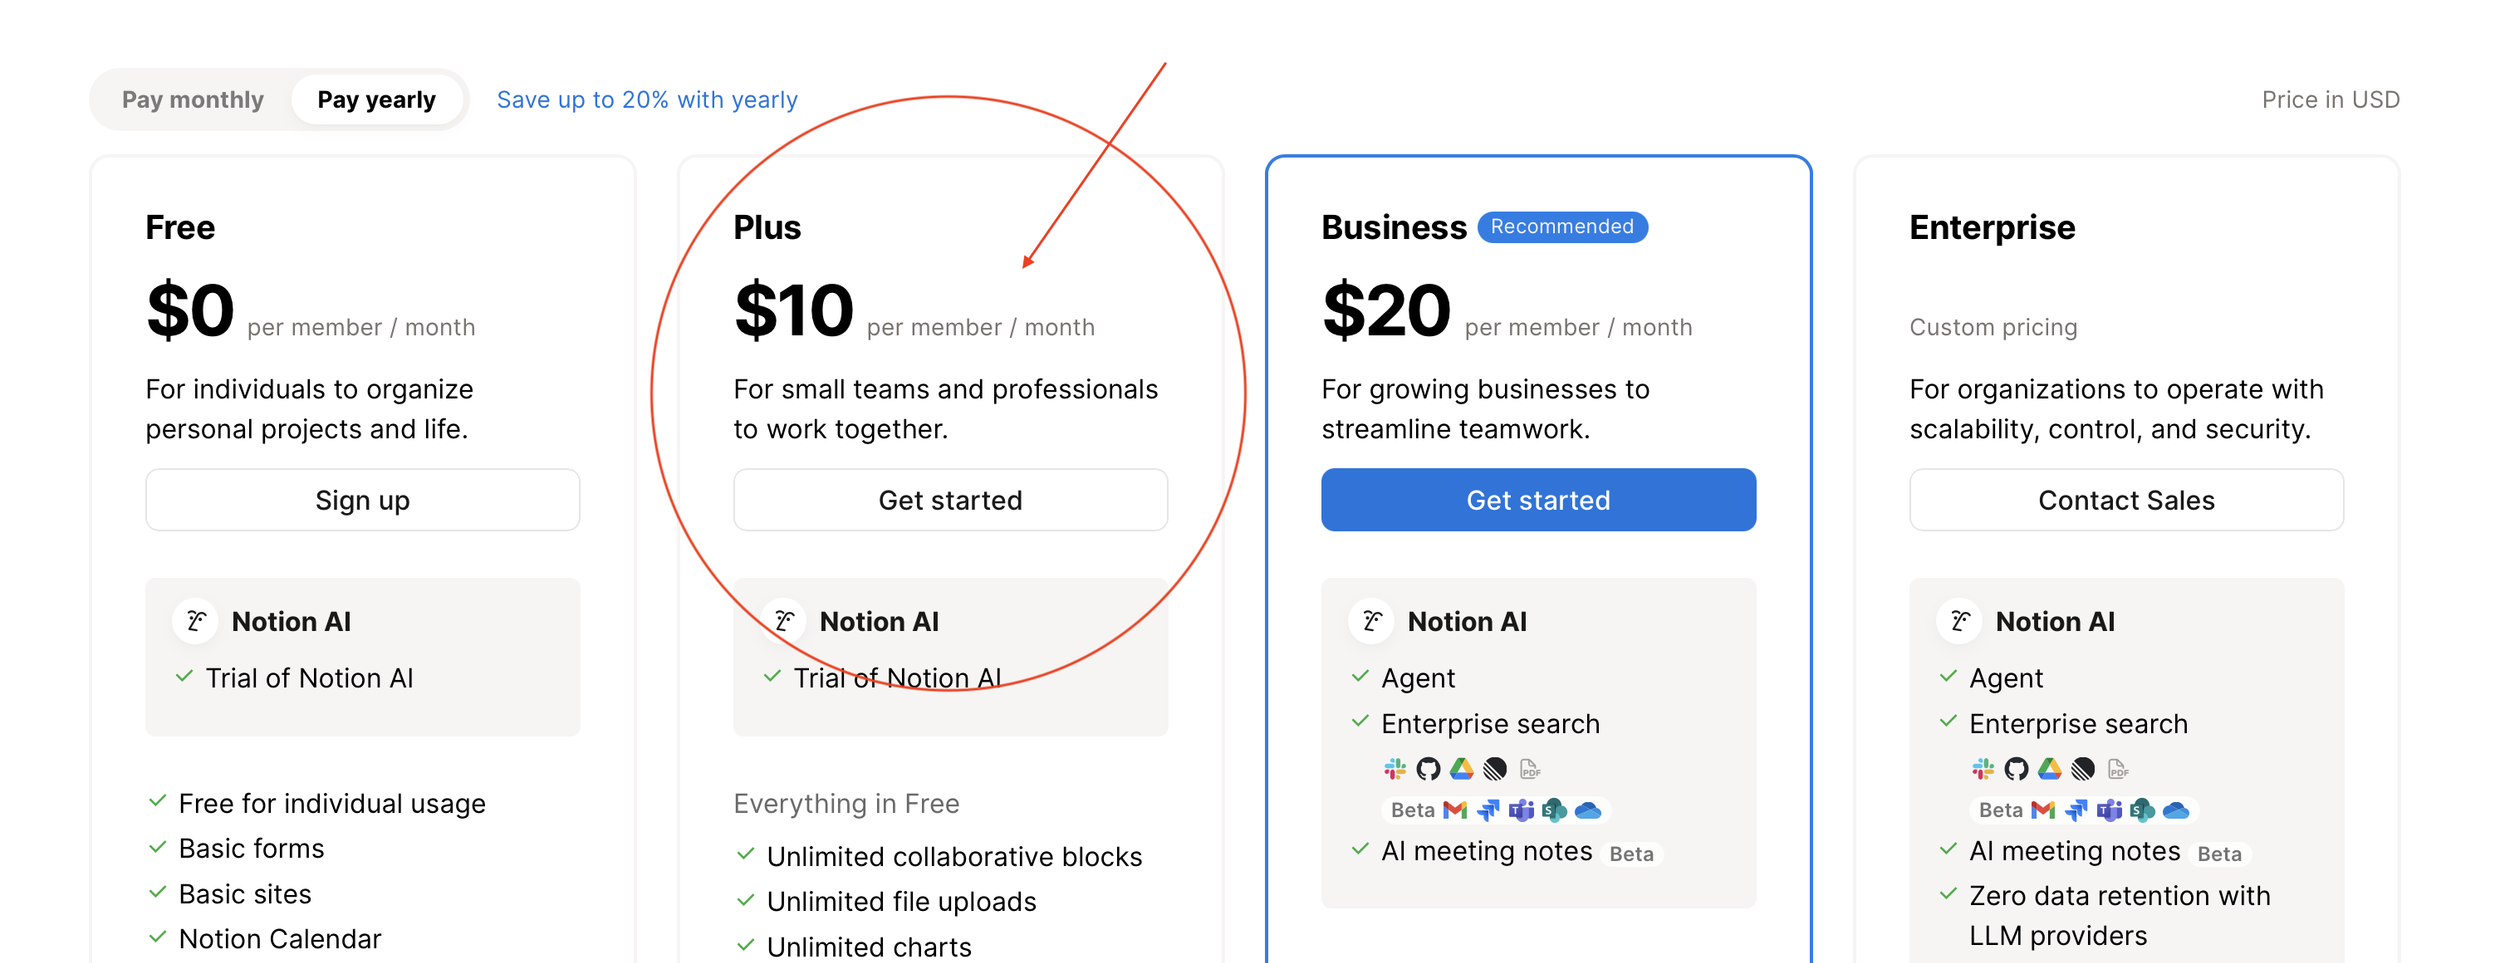
Pricing tiers as of September 8 2025
As a possible (unconfirmed) life hack, I’ll mention that I personally got something called a Personal Pro plan subscription through the iOS-app, and it appears to be cheaper than the official Plus subscription. I’ve not yet figured out what I might be missing out on, it covers all my Notion needs, except maybe from access to AI.
Setting up the basics
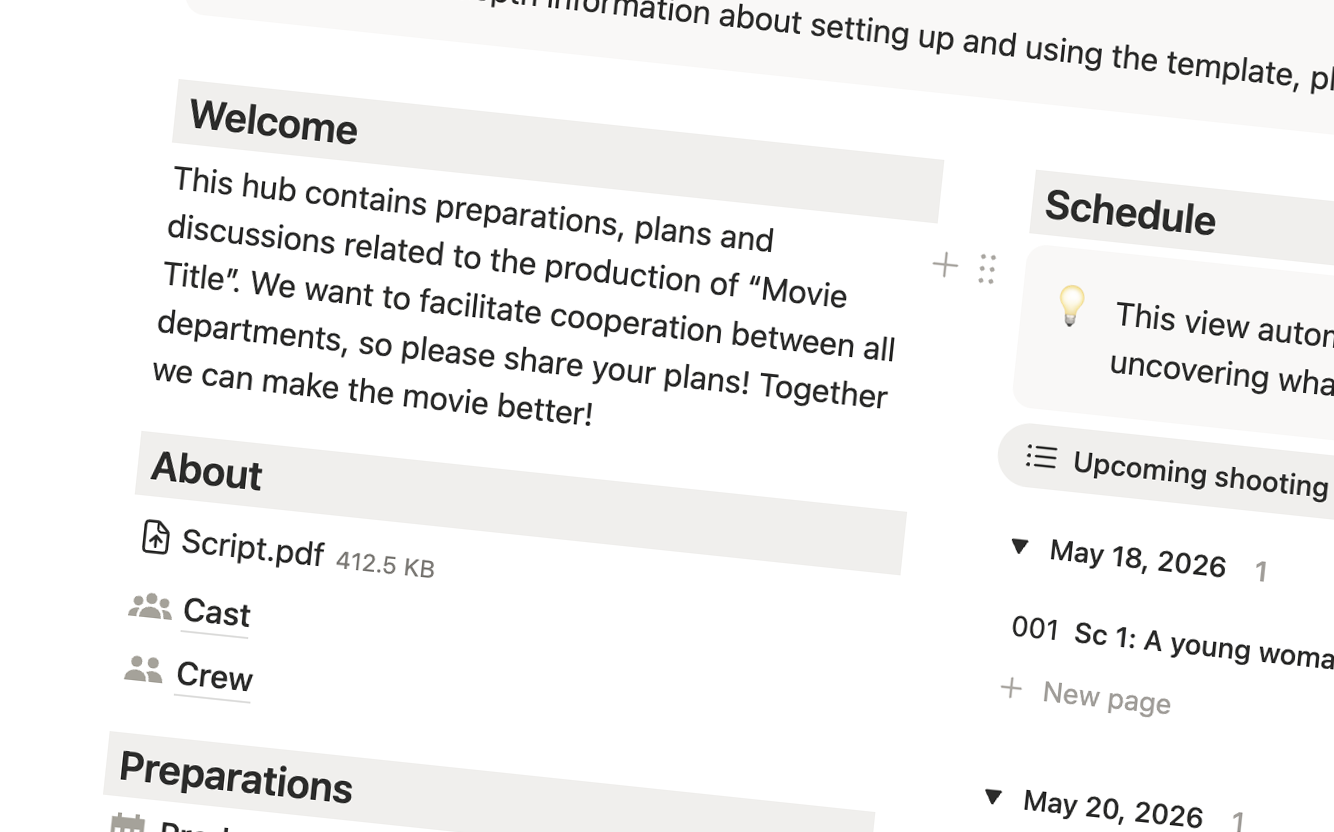
Now, once you’ve got a Notion account with a plus subscription, and you’ve bought and downloaded my template, you’ll have a project in your Notion workspace called “Film Production Hub”. You can go ahead and rename this to the title of your movie. I would also go ahead and rewrite the paragraph called “Welcome” into something more relevant for your project. I find it’s often good to include the name of a person in charge of the production hub, for people to ask questions about how stuff works, or get help inviting new people, etc. For many of your colleagues, this might be the first time they use Notion, or any kind of online collaborative team space, and some very basic information might be needed. Optionally you can, like any part of the template, move or delete this whole section, which consists of a header and a text block.
The next very basic thing you should do is replace the included example script with your own script. Just below the welcome message you’ll find a header that says “About”, and then “Script.pdf”. Just hover and three dots appear to the right, click these and choose replace. In the same menu, you can rename the file later if you want. For example by including a version number.
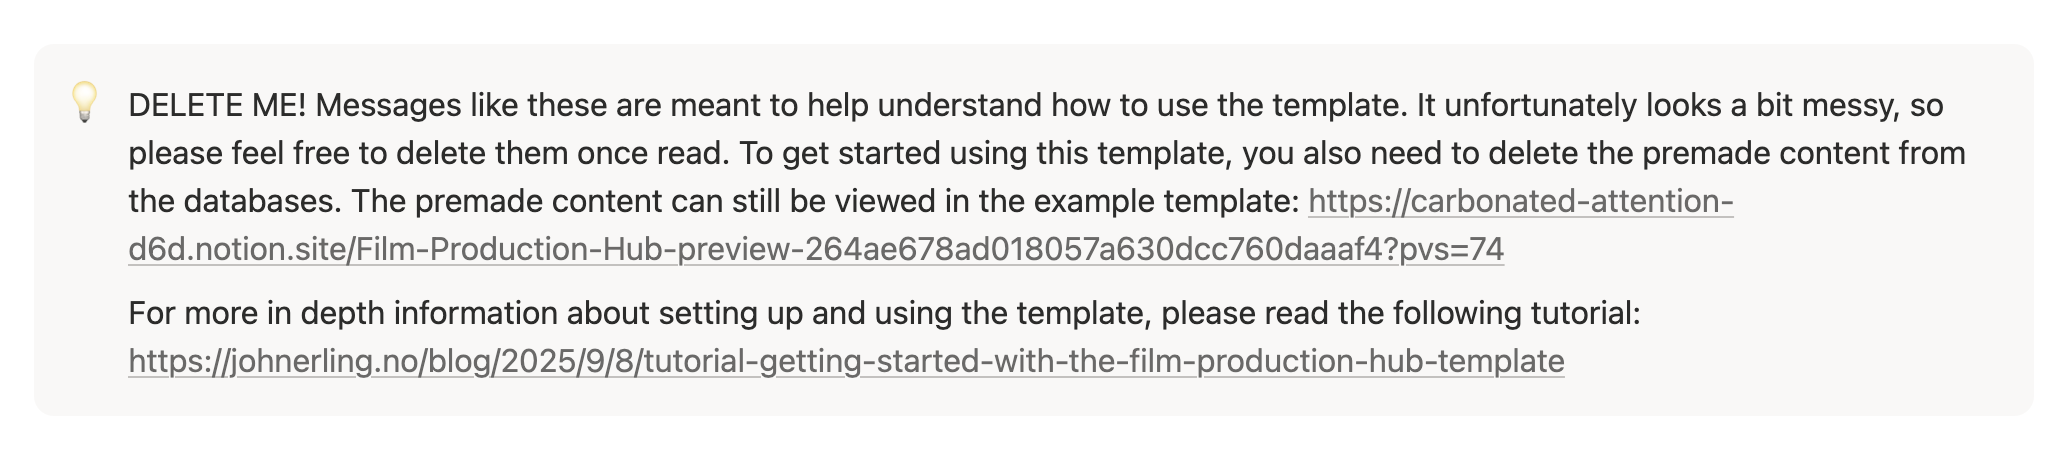
Messages like these can and should be deleted, as they clutter the layout quite a bit
Exploring the template
It’s time to start exploring the template. You’ll quickly discover these little grey boxes with a light bulb icon. They are meant as tooltips, to give basic instructions about what the different sections do, and what you as a user need to do to use them properly. They are meant to be deleted once you’ve taken the necessary action or understood the functionality, as they clutter the interface quite a bit. These two boxes appear on the front page, one of them explaining the centerpiece of your opening view.

The centerpiece of your front page shows upcoming scenes based on their assigned shooting date.
The template contains five databases that connect with each other, and help store and display information about the shoot. On the front page, I’ve created a view of the Scene breakdown database, that checks today’s date, and then displays the scenes from the upcoming shooting days. This view of course doesn’t get really relevant until you’re about to start shooting, but then it’s a vital preview of what’s coming up and where the immediate focus should be directed.
The Scene breakdown is the most important database, where every scene with its shotlists, storyboards, floorplans, etc. are located. The next database is the Locations database that contains location specific information like location pictures, logistical information, sun paths and so on. There is a separate Location scouting database that is meant as a preface to the Locations database. Often times you’ll be mapping a lot of different alternatives for each location in the script, and something you thought was meant for one thing, might end up being used for something different. Think of it as a place to dump everything, and then through a selection process, the best bits get funneled into the Locations database where they are given a specific purpose in relation to the script. The last two databases are the cast and crew lists, which are pretty much self explanatory, but nonetheless contain vital information that crew members might need.
Your project already contains a couple of example scenes, trying to demonstrate the possibilities in the system. There are also imaginary actors included, a member of staff (me), a few locations and some results of location scouting.
Further down the front page, there is a contact list that is filtered to only show heads of departments, and then there is another view of the Scene breakdown.

A different view of Scene breakdown, focusing on getting things done. Excuse my Norwegian screenshots, in your English template the column headings should be To-do, In progress and Complete.
Once again we’re accessing the same database containing all the scenes of the movie, but instead of listing what we’re about to start shooting, this view focuses on which scenes need to be worked on. Using basic GTD-principles (getting things done), there are three columns, in your English template it would be To-do (grey), In progress (blue) and Complete (green). If you’re a department head opening the production hub in the morning, this could be a quick way to identify where you need to focus your efforts.
Click on a scene, look at the beautiful sample shotlists and storyboards, and then let’s get back to prepping the template for your movie.
Getting ready for your production
There is premade content all over the hub that demonstrates how you COULD use each page. I emphasize could, because you really should consider making tweaks as you become familiar with the system, to tailor everything to your specific needs. But let’s get the template ready for prep on your production.
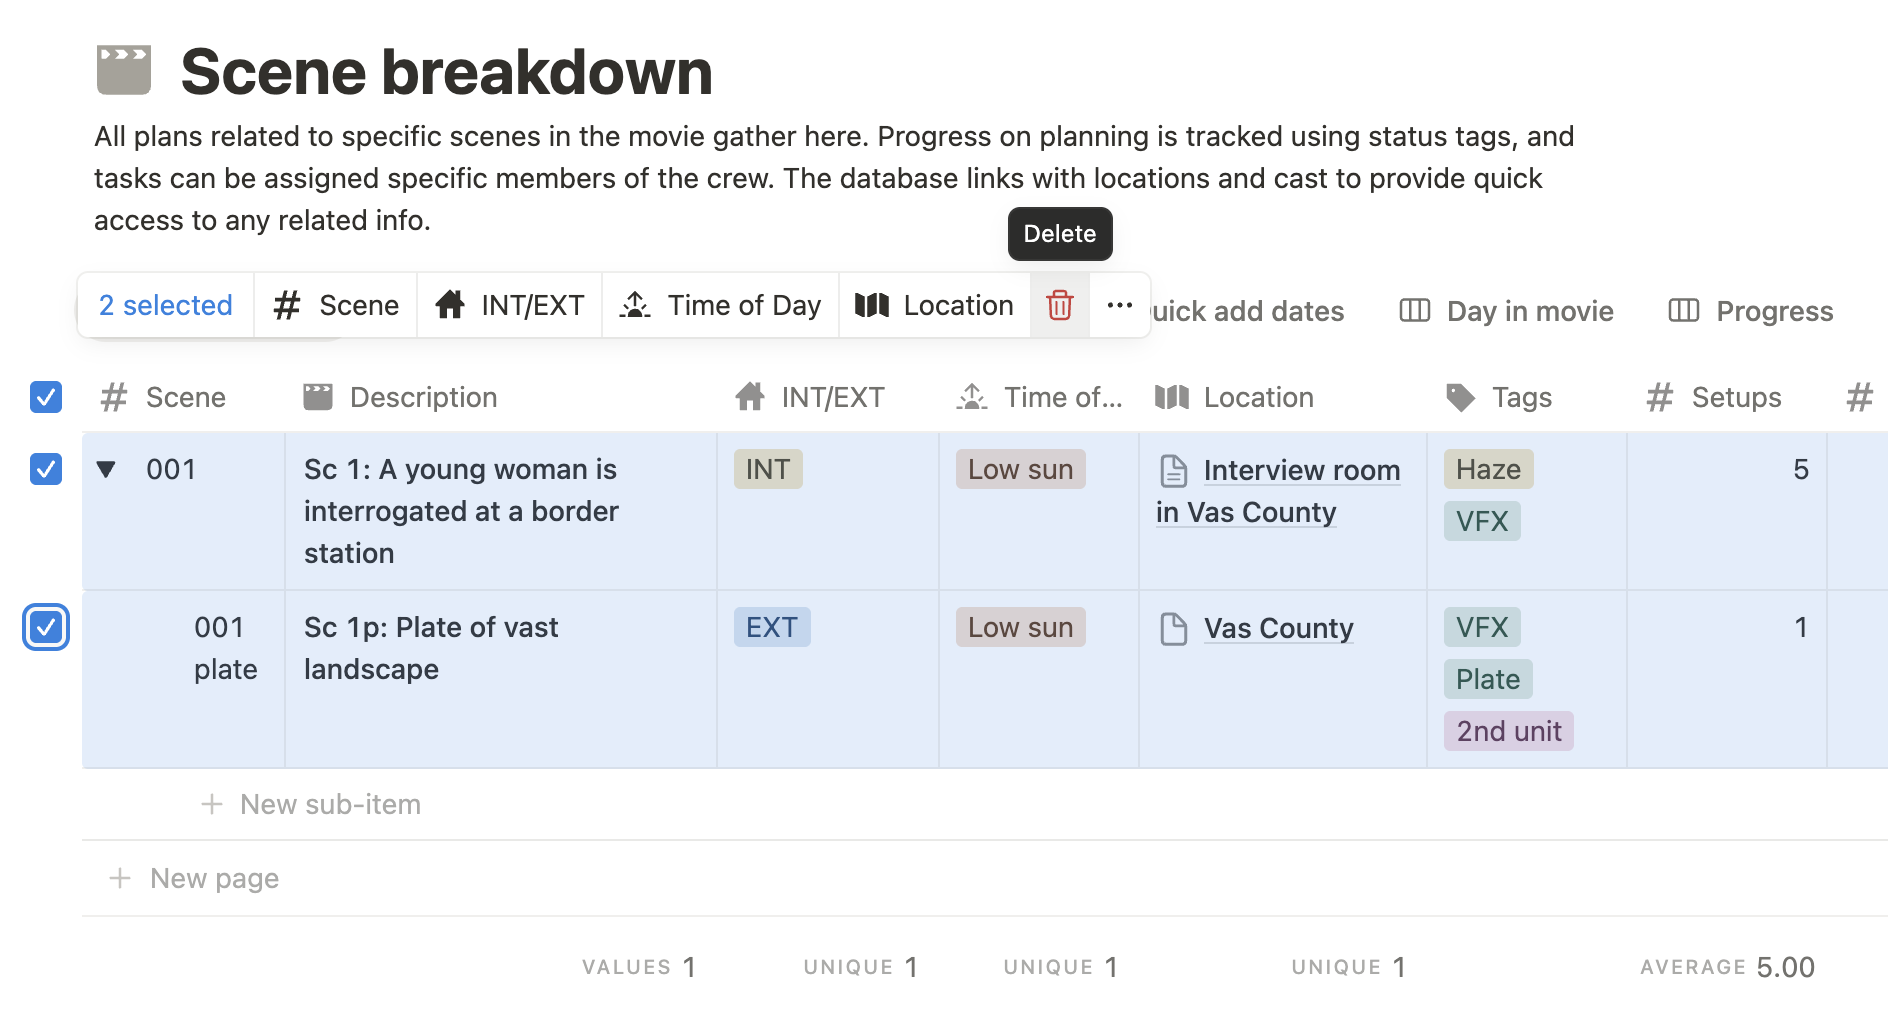
Deleting the databases is a manual task at the moment.
First let’s empty the databases. I wish there was an easy way to just click a button, but in my v1 template I’ve not found a good way to solve this. So you’ll need to click on Scene breakdown in the menu on the left side of the front page, and then select the two sample scenes and delete them. In Cast and Crew, you select the two actors and one crew member, and delete them. The same goes for Location scouting and Locations database. In the Production calendar, there are certain entries spread out outside of your immediate view, so I recommend using the “Weekly timeline” to identify if there are still sample entries left in the calendar.

Next, there is sample content located in all the department pages, but I recommend leaving these for now. It might give a hint to department heads that you’re going to onboard later about how to use these pages.
Onboarding staff members
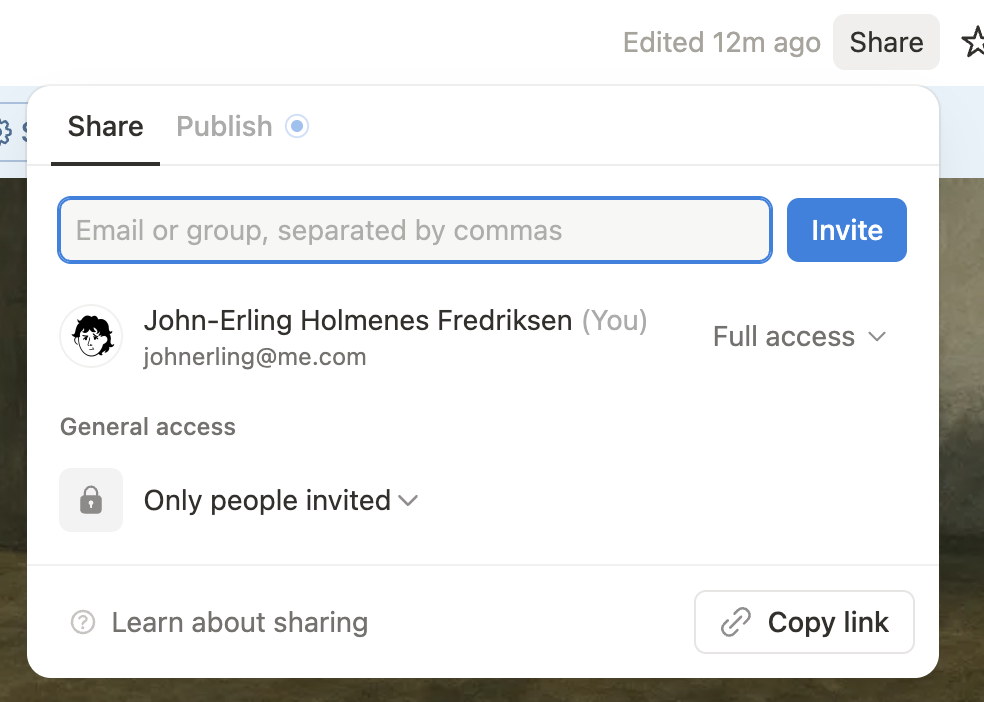
Inviting members to the project involves giving them the right access permissions.
It’s time to bring in your colleagues. Go to the front page (important, because you can also invite people only to a specific page inside the project), and hit the share button. Invite people by e-mail and they will receive links to create an account and join the project. I recommend starting out with commenting permissions for everyone, and then assigning department heads editing permissions on their department pages, as well as the databases that are relevant to them.
I really like the permissions system in Notion. Having permission to comment means that you can click on basically any content in the production hub, and write a comment on it. But you’re not allowed to alter pages, which could (worst case) delete important content or irreversibly change the structure of the hub. Usually it’s only the department heads that actually add content anyway, while any member of staff might have questions or input on items that are published. Important discussions often happen in these comment sections, which are handy references for later as to what has been said about a certain element.
Now, as you add staff, you might also want to start building the crew list. As soon as someone has an account and is invited to the project, you could use @name to get their attention anywhere in the project, and I like to include their @name as their name in the crew list, to make sure it’s understood that there is a connection between person and Notion account. Mentioning people is another one of those important features of the production hub.
The “final” thing you need to do as you’re onboarding people, is to manage the calendars on the department pages. Each department page contains a linked view of the central Production calendar, but with the added feature of filtering only items that are relevant for each department. For this to work, you need to add the right users to the filter of each department page.

If you open the Director page, you’ll see there is a calendar view just below the heading. On the top right of this calendar view there are three familiar dots, that open a settings menu. In the settings menu, you’ll find the Filter option, where you can select users from a dropdown menu to make sure the calendar only displays items with the chosen attendees.
Tweaking the template
Once this is done you’re ready to start building your movie together! A blank canvas will slowly populate and become a beautiful piece of art!

This is a sample scene included with the template
I’ve already mentioned how you could and should tweak the production hub to your specific needs. Let’s look at a scene in the Scene breakdown. This is one of the sample scenes that are included with the template. There is a scene heading, then there is a section with metadata, and then there is the content of the scene card. For the scene heading I usually include the scene number to easily identify it if I’m linking to it from somewhere else in the hub. But there is also a separate metadata field for scene numbers (used for sorting scenes), there are fields for time of day, location, day in movie, number of setups, page count, etc. The locations field links directly to the Location database, and the cast field links directly to the Cast database.
A very simply tweak you might need to make is to add more tags. This is super easy, just click the tags, and then type in a new one if none of the included tags are applicable. You can do the same thing to add more status options.
But you can also add entire metadata fields (called properties in the Notion user interface). Maybe you want a separate field where you can select what sort of weather is needed for a certain scene. If your interface looks like the screenshot, you would click “v 2 more properties” and an “+ Add a property” button will appear.
Below the metadata is the scene card content. This is basically just a blank page that you can format and organize however you like. In Notion you can add headers and text, or numbered lists, to-do lists, pictures, videos, tables, inline databases, links to the internet, or one of countless integrations with external web services that Notion offers. I recommend keeping things simple and maybe a bit consistent, but there is almost infinite configurability inherent in this section. My scene cards usually start with a shotlist, and then a storyboard and/or a floorplan, as this is what most people will be looking for when they open the scene. Location specific information is contained on the location page in the Location database, which you will reach by clicking the location just below the header.
As you get more familiar with the system, it’s possible to create premade templates for how a page in the database should look when you make new entries. For example you could have premade headers in the contents of the card, or placeholder images to simply replace.

This is a sample department page included with the template
The department pages are another very tweakable part of the production hub. Looking at the Cinematography page, you can see I like to present the visitor with an immediate view of the cinematographic concept of the movie. But there is a basic to-do list here, that I maintain myself, and then I’ve created separate sub pages for camera, lights and grip.
Typical items here would be equipment lists, pictures and videos of lens tests, discussions with my 1st AC, gaffer or grip, etc.
You’ll also see an example of how I’ve just typed “@sc 1”, and then been presented with the option to create a direct link to scene 1 in the Scene breakdown.
These pages are not databases, even though they contain linked views of databases. They are just pages, almost like a Word document, where you can type in and add blocks of anything, just like the contents of a scene card. Maybe one of the departments have their own Google Calendar? You can actually add a block that dynamically displays that Google Calendar within a window on this page. Or you could create a linked view of a Google Document if they maintain lists or inventory outside of Notion. Or they can add more views of the included databases.
If your department heads start getting very familiar with Notion, they can even create their own databases within these department pages. Maybe the prop master wants to manage his inventory of props, he could set up a database as a sub page of the Production design department. And if you want to take it even further, you could create a dynamic link to the Scene breakdown, so that props can be selected from a dropdown menu on the scene cards. This demands a little knowledge of using the more advanced features of Notion, but is absolutely doable for someone with an optimistic nature!
The same way department heads can build their pages to their liking, you could tweak the front page to your needs. Add different linked views to databases, change the existing ones to filter or sort items the way you need.
But first and foremost, the key is to get people into using the features that are already there. The more we share, the more others care. And that is precisely the purpose of bringing a movie production together in the Film Production Hub.
Preview template
Now, you’ve got your production up and running, your crew is onboarded, and everyone has started creating within your little teamspace. But you’ve also deleted the included sample entries and tooltips, and some newer staff members are a little lost as to how they can use the hub. Oh no!
Luckily, I’ve created a separate preview template that can be viewed online, containing even more sample entries than the ones included! The preview template can be browsed following this link: https://carbonated-attention-d6d.notion.site/Film-Production-Hub-preview-264ae678ad018057a630dcc760daaaf4
Good luck!