
Tutorial: Automating script breakdowns with Notion CSV sync
Film Production Hub is my Notion based workspace for organizing prep and shoot, and is available to purchase on the Notion Marketplace. You can read a tutorial for setting that up here. I’ve now added another tool to that system: An app for iOS called Notion CSV sync, which allows for more advanced syncing of CSV data into Notion databases. This post takes you through using the app to add and update script breakdowns in the Film Production Hub.
The most boring part of starting the prep in my Notion system is typing in all the details for every scene in the script. Final Draft-files (FDX) are stored in an XML-based format, which is actually very convenient if you want to automate that process. It means that I can teach a computer to automatically extract information from the scene headers – like scene number, INT/EXT, location and time of day.
Notion already supports importing datasets like this as CSV-files. But the CSV-import to Notion is very basic. It allows you to merge a CSV-file into an existing database, but you cannot update information with new versions of the script, and it does not support related databases.
This is what my app tries to mitigate.
Preparing the script
To import your script, you need to get the Final Draft file. PDF won’t do. To convert the FDX into CSV, I use ChatGPT for now, but will definitely consider a dedicated app in future. You can also customize this to your own liking.
Here is the prompt to get you started:
I’m attaching a Final Draft .FDX file. Please treat it as XML and follow these rules very precisely.
GOAL
Create a downloadable CSV with one row per scene and these columns:
- "Scene" (scene number)
- "Location"
- "Time of Day"
- "INT/EXT"
- "Description" (the first three sentences of the scene’s body text)
- "Page Count" (converted to decimals)
SCENE DETECTION
- A scene is defined by a <Paragraph> element with Type="Scene Heading".
- Use the value of the "Number" attribute on that <Paragraph> as the "Scene" value (e.g. "1", "1A", "39B").
- Page count is found in the <SceneProperties> element as "Length" (e.g. "4/8", "1 2/8").
- Any scene with the <OmittedScene> element should not pull any more information. Just leave the scene number and the word "OMITTED" in the "Description" column.
HOW TO READ THE SCENE HEADING
Very important:
- Scene headings are often split across multiple <Text> children inside the same <Paragraph>.
- You MUST concatenate ALL <Text> child nodes of the Scene Heading <Paragraph>, in document order, to get the full heading string.
- Example XML:
<Paragraph Type="Scene Heading" Number="1">
<Text>int. </Text>
<Text>ali-bygget</Text>
<Text> - morgen </Text>
</Paragraph>
- Full heading string to parse: "int. ali-bygget - morgen"
INT/EXT
- From the full heading string, detect whether it is interior, exterior, or both.
- Use these rules (case-insensitive):
- If it contains "INT", set "INT/EXT" to "INT".
- If it contains "EXT", set "INT/EXT" to "EXT".
- If it contains both (e.g. "INT./EXT.", "EXT./INT.", "I/E"), set "INT/EXT" to "INT;EXT".
- Do NOT use the raw heading as Location; parse INT/EXT separately.
LOCATION
- Start from the full concatenated heading string.
- Strip off the INT/EXT prefix, including variants like:
- "INT. ", "EXT. ", "INT./EXT. ", "EXT./INT. ", "I/E. ", "E/I. ", etc.
- Then split the remaining string on "-" characters.
- The last "-" segment is usually the time-of-day; everything before that is the Location.
- Remove any leading/trailing spaces around the Location.
- Example:
- Heading: "INT. ali-bygget - morgen"
- INT/EXT: "INT"
- Location: "ali-bygget"
- Time of Day (see rules below) is derived from "morgen".
- Heading: "EXT. Stortinget, trailer - dag"
- INT/EXT: "EXT"
- Location: "Stortinget, trailer"
- If, after removing INT/EXT and time-of-day, nothing is left, set Location to an empty string or "Unknown" (but still do the attempt).
TIME OF DAY
- Work from the full heading string (concatenated Text children).
- Map any time words to one of these four buckets:
- "Daylight"
- "Night"
- "Low sun"
- "Twilight"
- Suggested mapping (case-insensitive):
- "NATT", "NIGHT", "NITE", "MIDNIGHT", "LATE NIGHT" → "Night"
- "DAWN", "DUSK", "TWILIGHT" → "Twilight"
- "MORGEN", "FORMIDDAG", "ETTERMIDDAG", "KVELD",
"MORNING", "EVENING", "SUNRISE", "SUNSET", "GOLDEN HOUR",
"EARLY MORNING", "EARLY EVENING", "LATE AFTERNOON"
→ "Low sun"
- "DAG", "DAY", "DAYTIME", "AFTERNOON" → "Daylight"
- If no time-of-day word is found, default to "Daylight".
DESCRIPTION (FIRST THREE SENTENCES)
- The Description must be taken from the scene’s actual text (action and dialogue), not from the scene heading.
- For each scene, collect all Paragraphs after its Scene Heading, up until (but not including) the next Paragraph with Type="Scene Heading".
- For these Paragraphs, concatenate their text (again: concatenate ALL <Text> children inside each Paragraph).
- From that full body text, extract the first three sentences, where sentences end on ".", "!" or "?".
- Join these three sentences with spaces and put that into the "Description" column.
- Do NOT rewrite or summarize the text; use the actual sentences as they appear in the script.
OUTPUT
- Produce a CSV file encoded as UTF-8.
- Columns: Scene, Location, Time of Day, INT/EXT, Description, Page Count.
- One row per scene in script order.
- Make the CSV available for download when you’re done.
Bringing the script into Notion
I’m going to assume you now have one CSV file generated by ChatGPT, in my case I’ve called the file “sample script.csv”. I also have a copy of my Film Production Hub set up in Notion, which I’ve named Notion CSV sync.
The first thing you need to do is to log into Notion in the Notion CSV app. You are authorizing the app to access your account, but this can of course be revoked at any time. You can also limit which projects it has access to.

Click “Connect to Notion” on the splash screen

After logging in, you’ll select which projects the app can access
Step 1
Once you’re logged in, you should head on over to the Sync tab, where you’ll be presented with a step by step interface to import your data. Step 1 is to select which database in Notion we should update. Because the Film Production Hub contains several databases that are interconnected, the first thing we need to do is to update the Locations database. When we later populate the Scene breakdown, it needs to find the Location in the Locations database, otherwise it will leave that field empty.
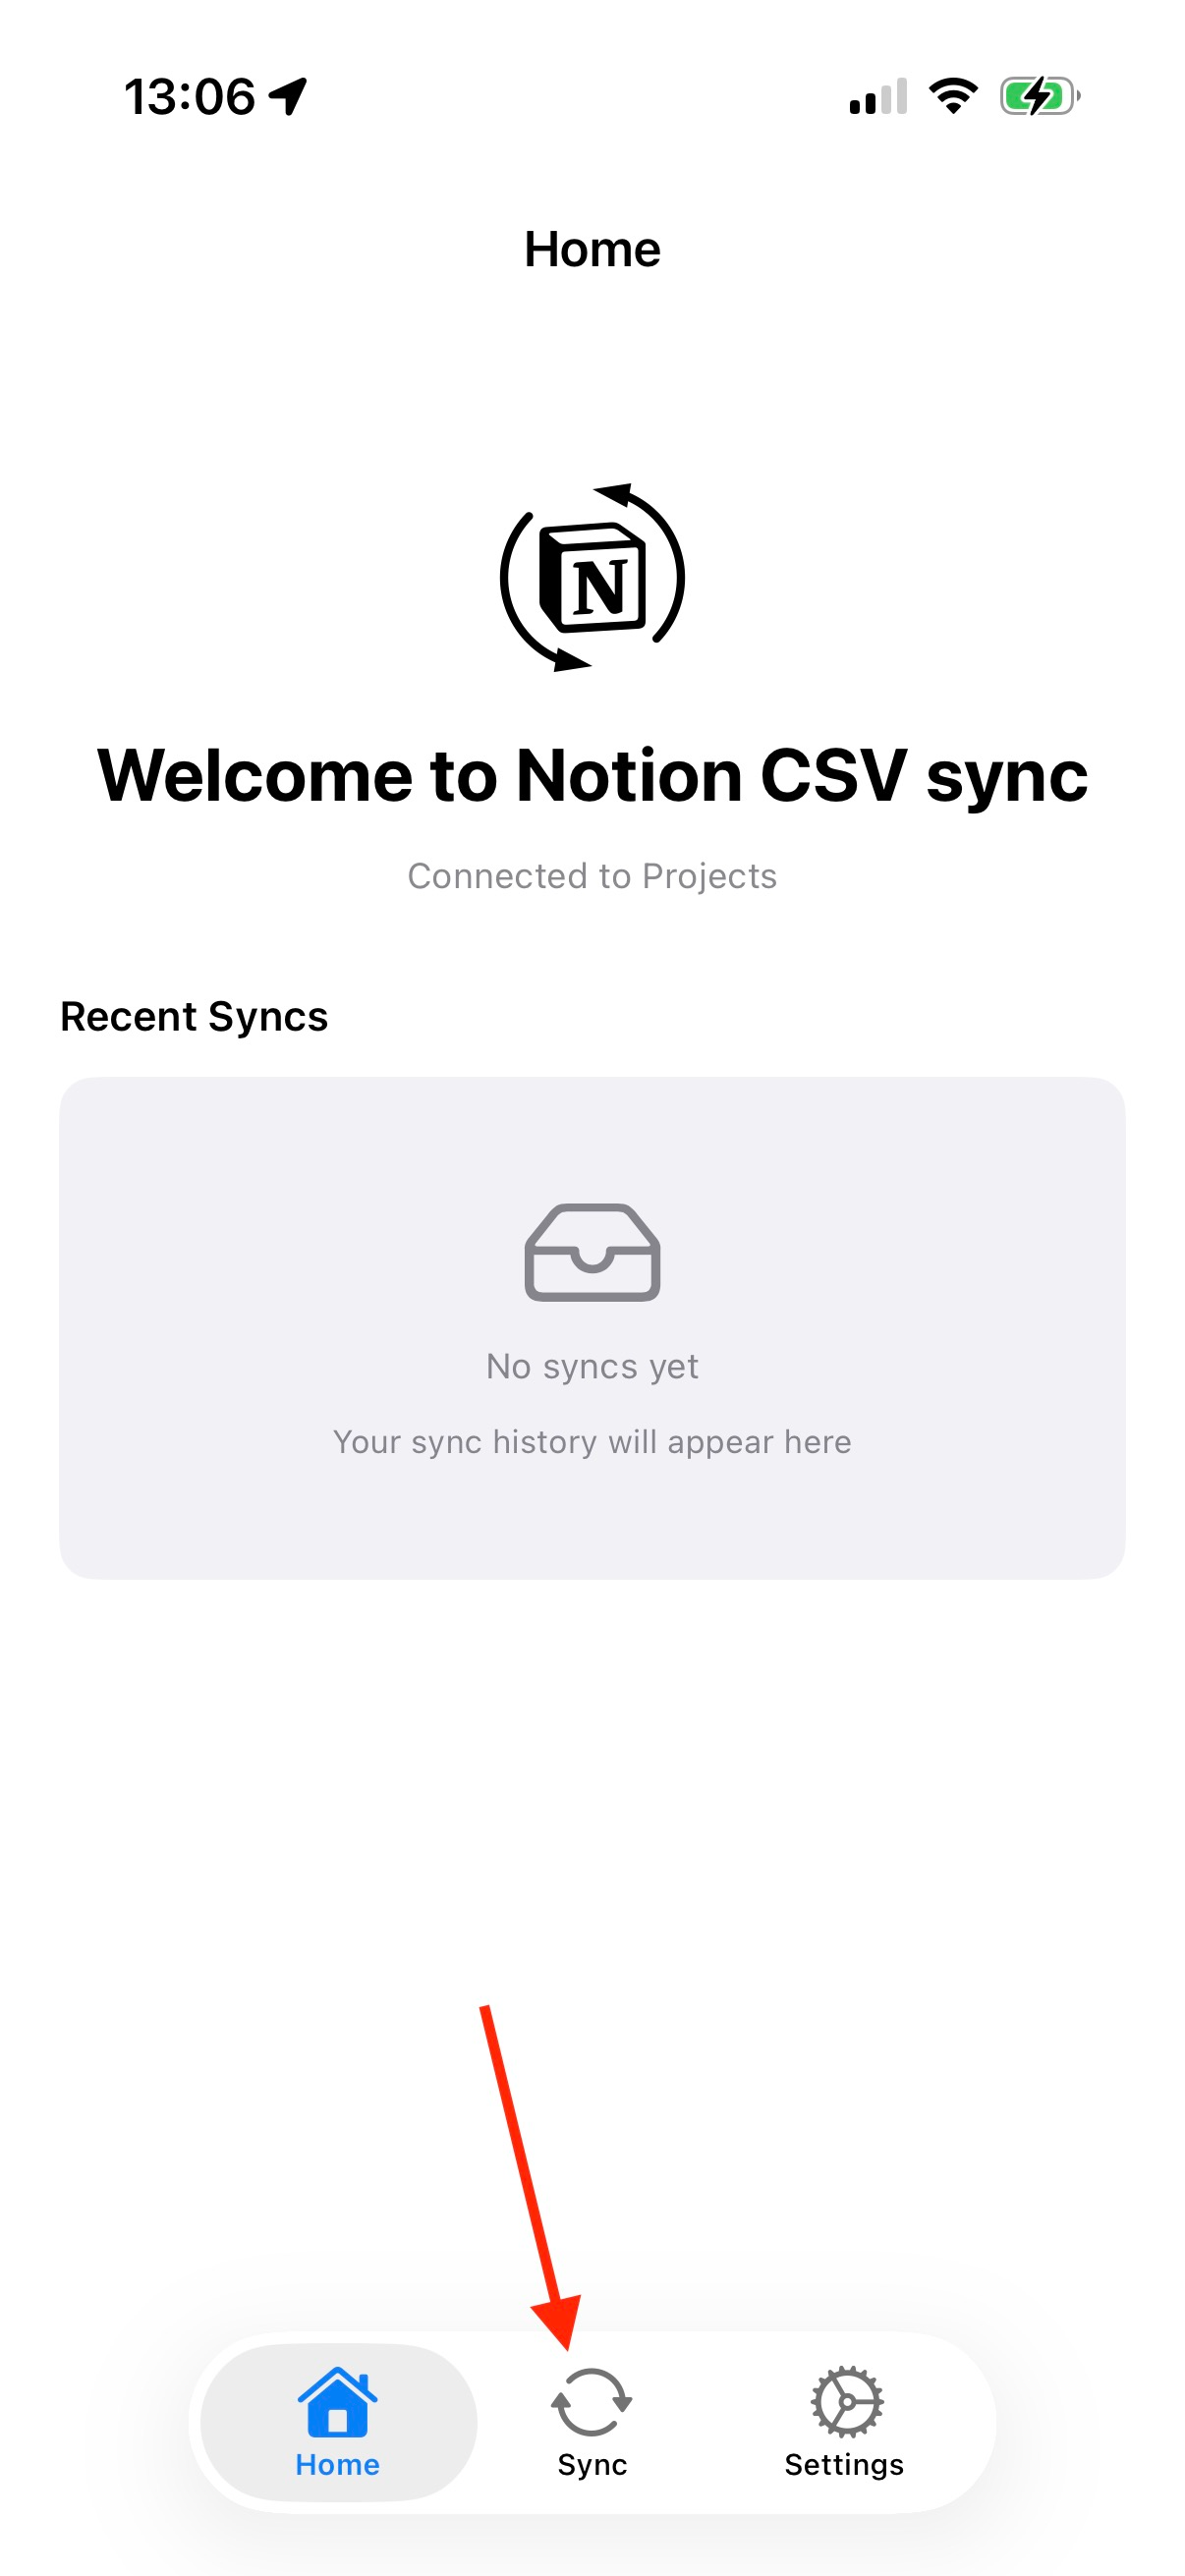
After logging in, you should go to the Sync tab
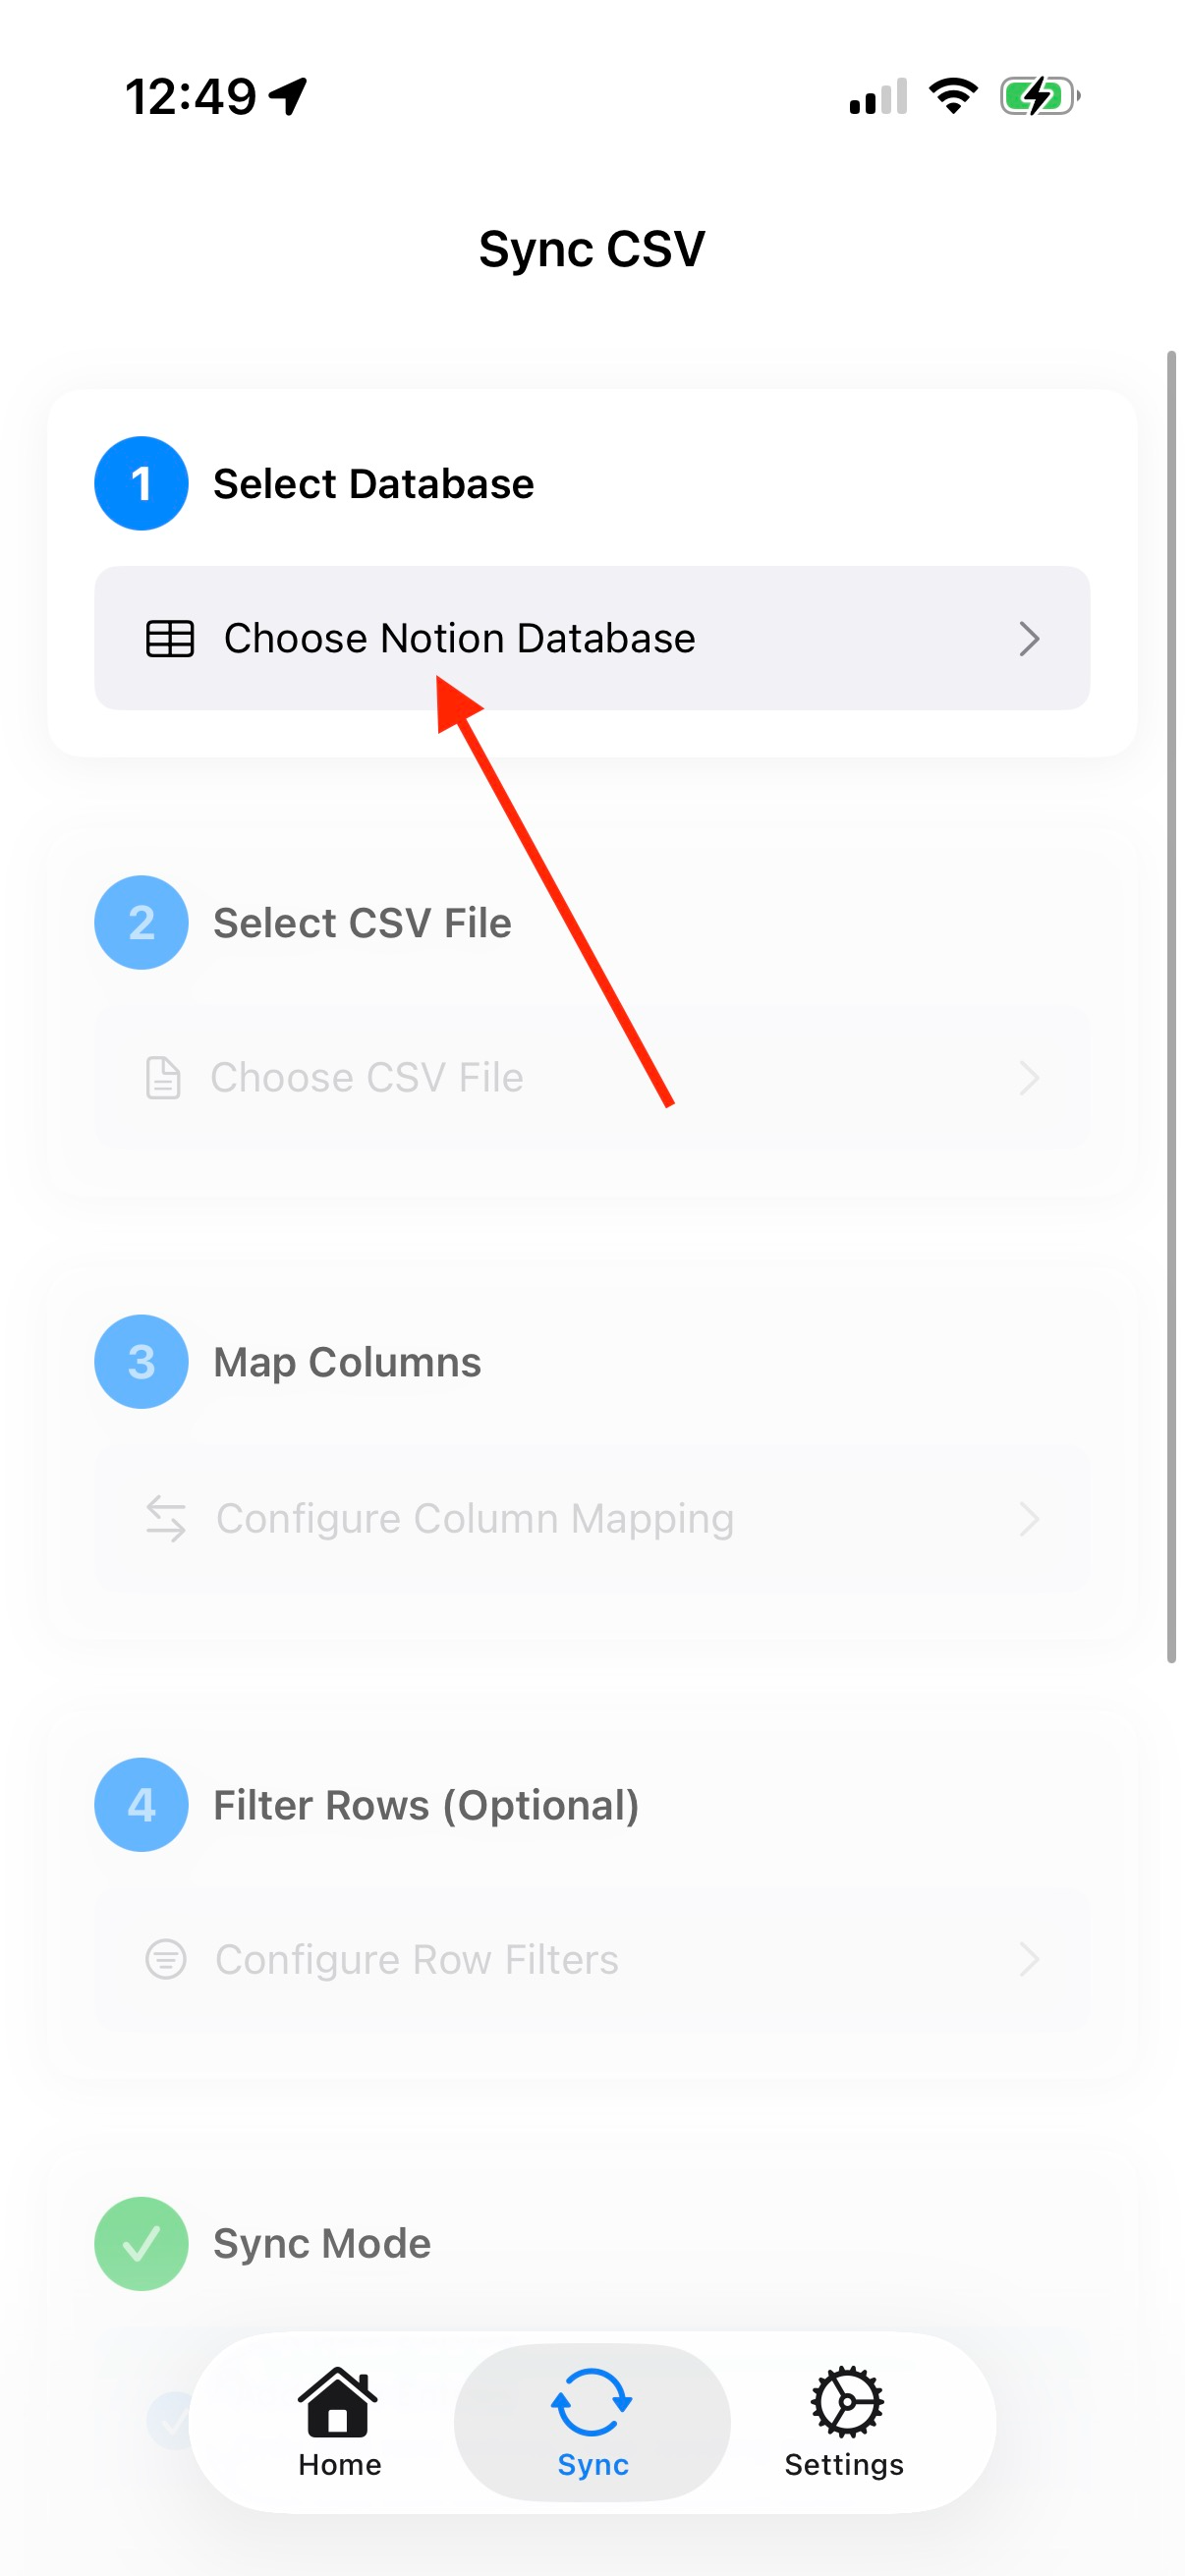
In the Sync tab, click Select Database

And then find your Locations database
Step 2
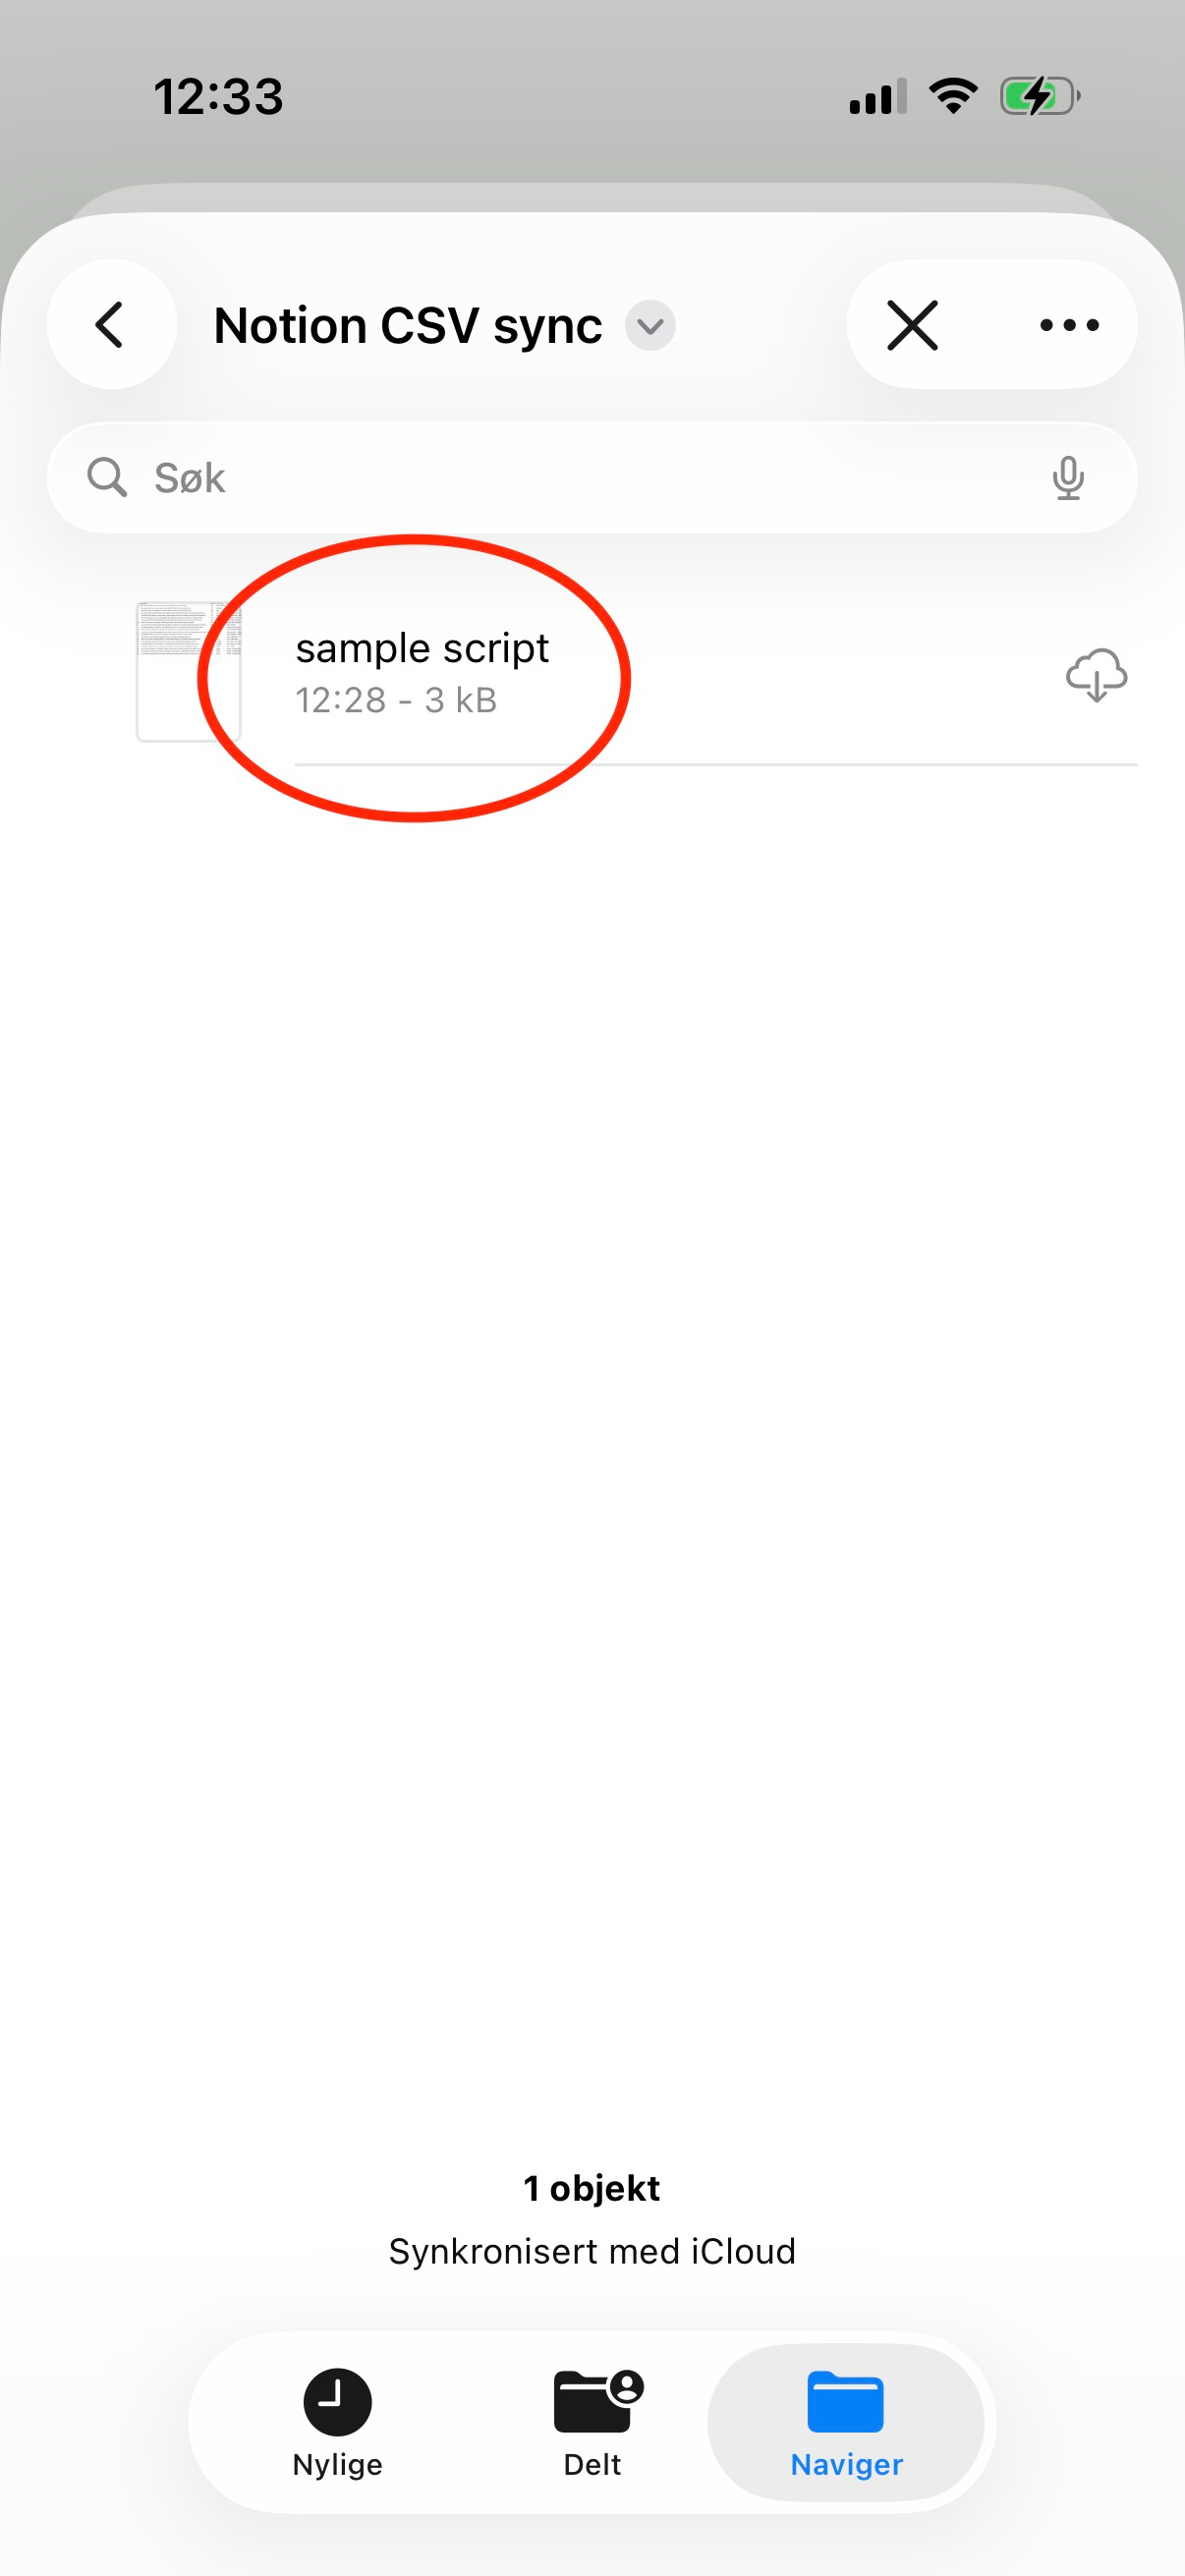
Step 2 is to navigate to the folder that contains the CSV file in Finder.

Click on Choose CSV File

Navigate to the file in Finder

You’ll see a quick preview of the data in the CSV file
Step 3
Next we need to map the columns correctly. The app needs to know which column from the CSV goes into what property in the selected Notion database. When adding locations, we need to map the “Location” CSV column to the “Name” property in the Notion database. The rest of the columns should be ignored.

Click Map Columns

Click the Location column

Map it to the Name property, and ignore the rest of the columns
Step 4
Step 4 is an optional step in the app, but very important for the Locations database. We need to use filtering to sort out duplicates, to avoid having several copies of locations that are used for more than one scene.

Click Add Row Filters
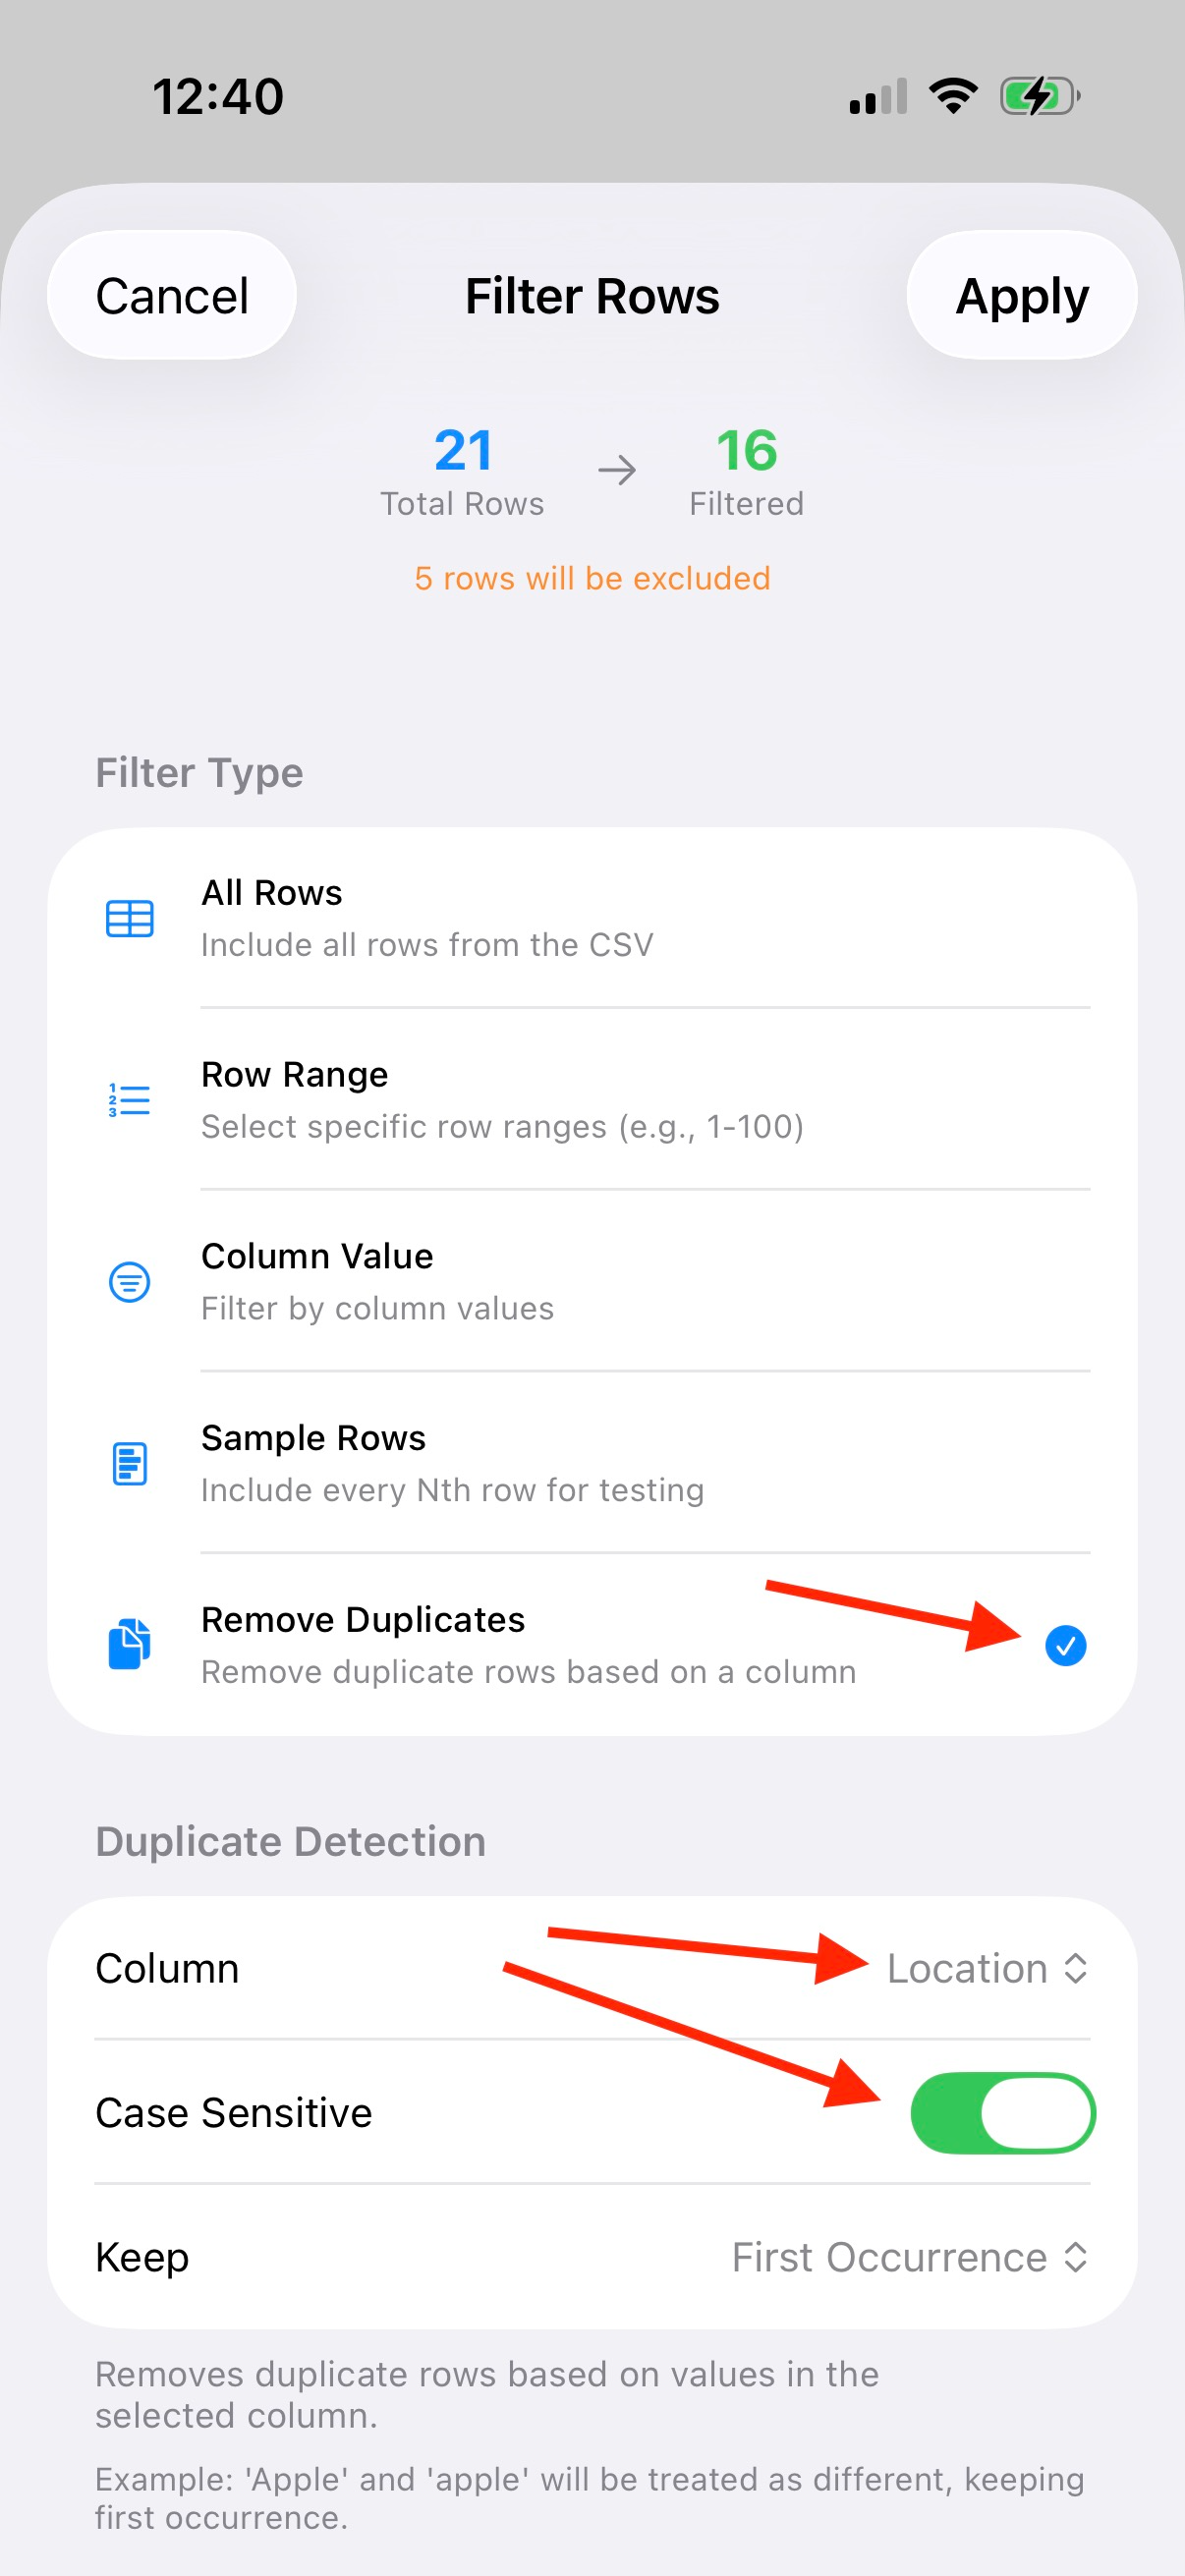
Select Remove Duplicates, and make sure the Location column is selected, and Case Sensitive is toggled on
Add New Entries
We are now ready to add entries to the Locations database. Make sure Add New Entries is the selected Sync Mode, and click Start Sync.
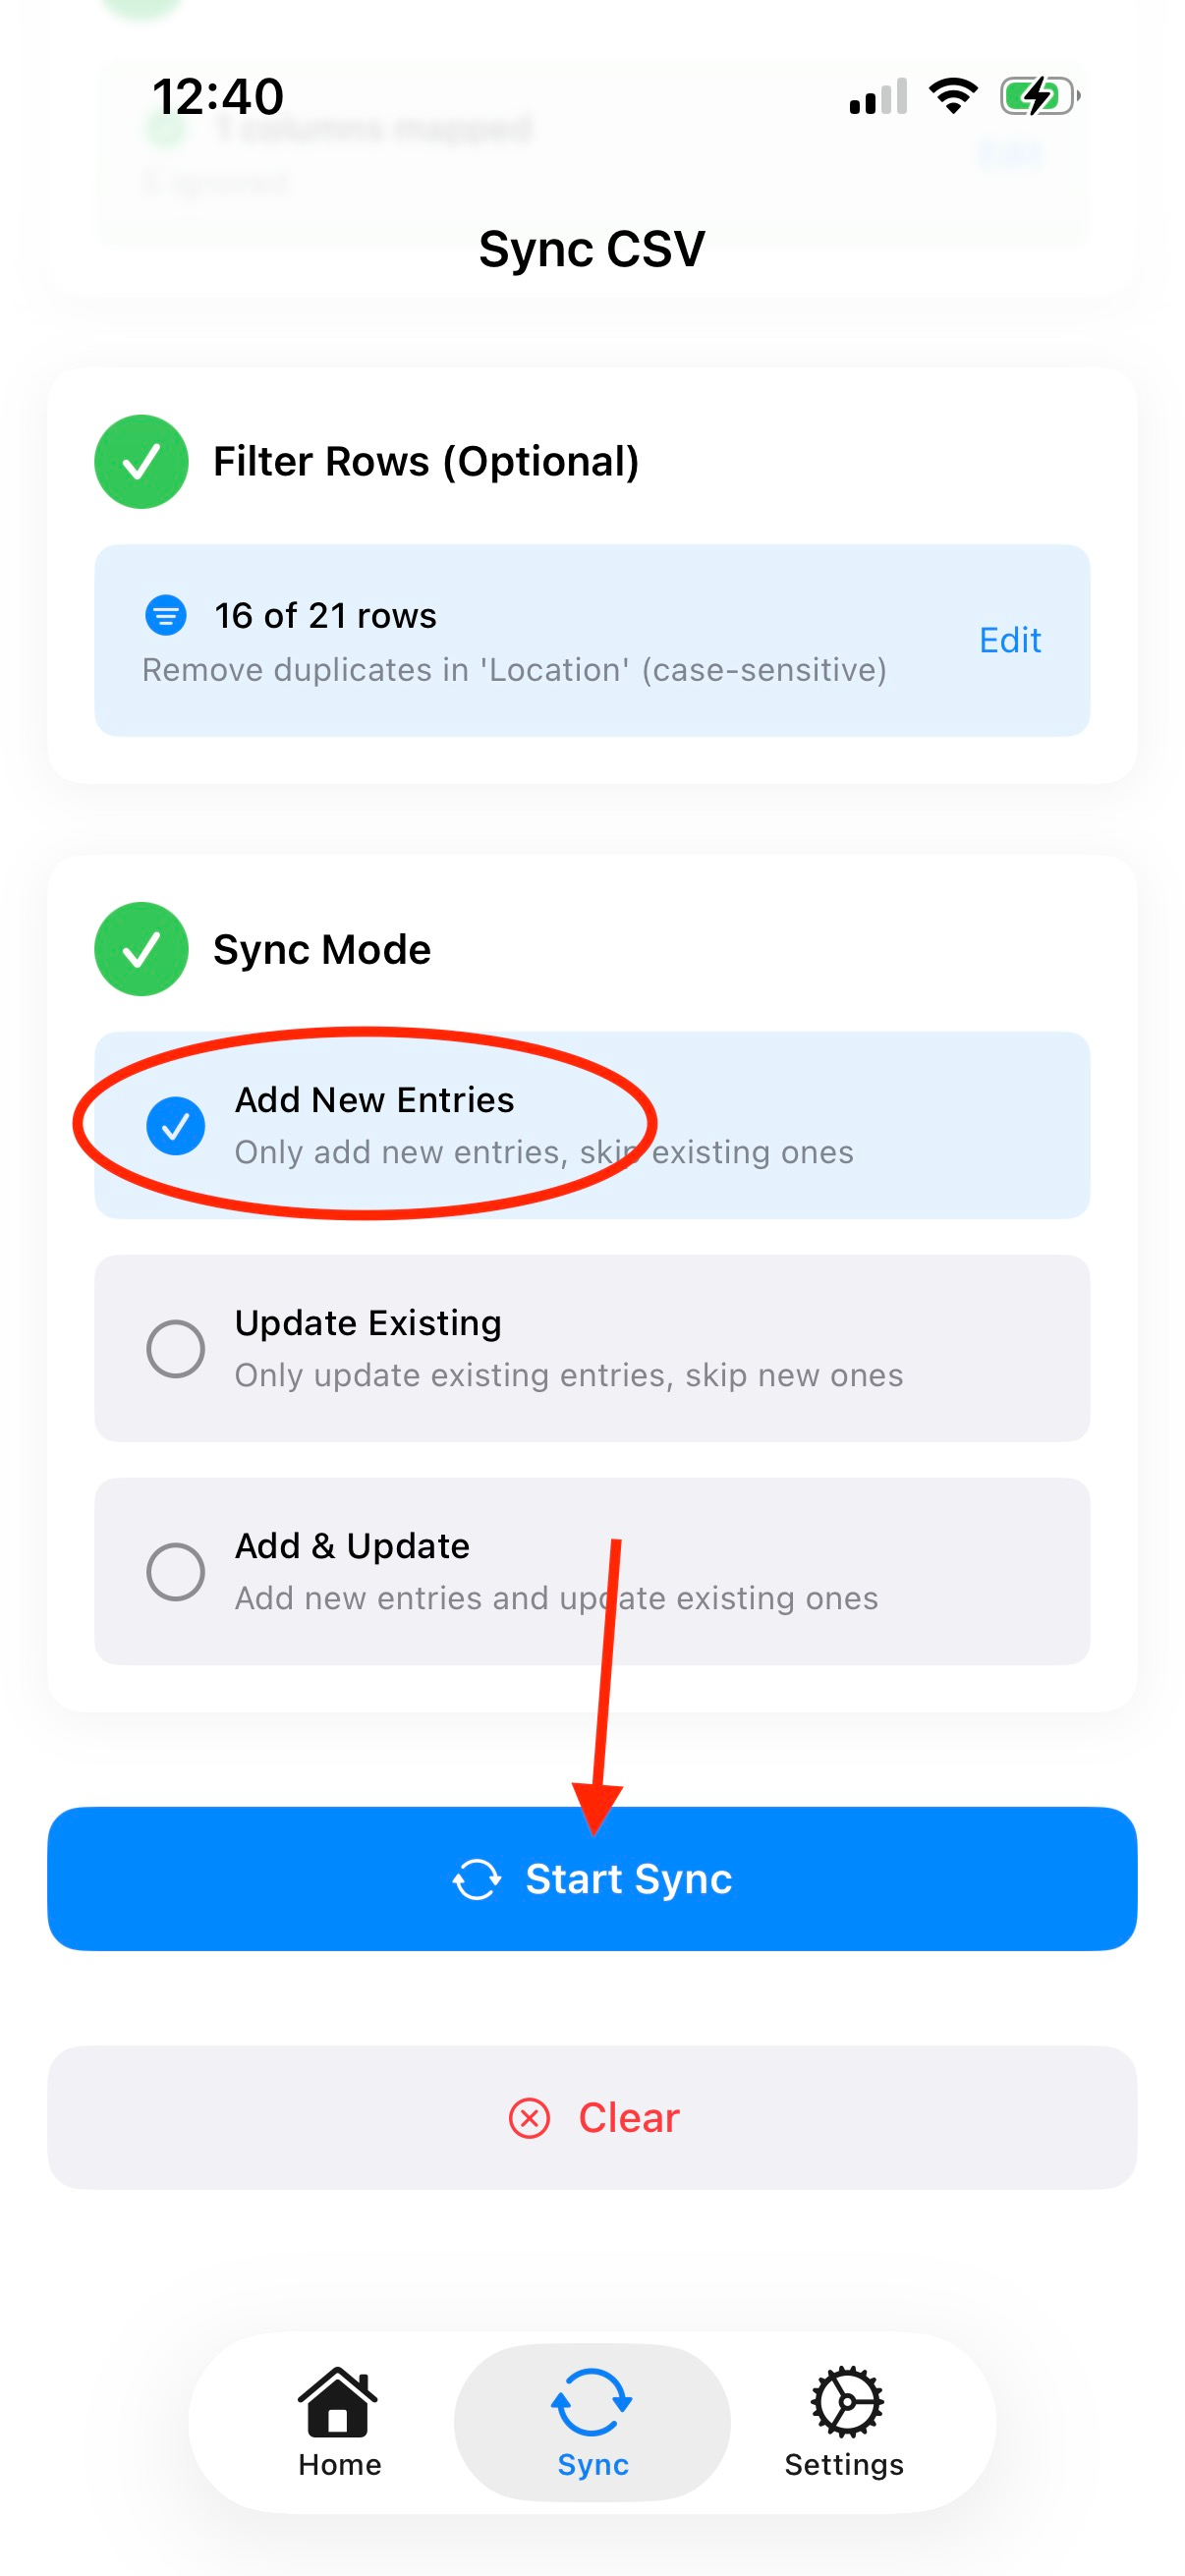
Select Add New Entries and Start Sync
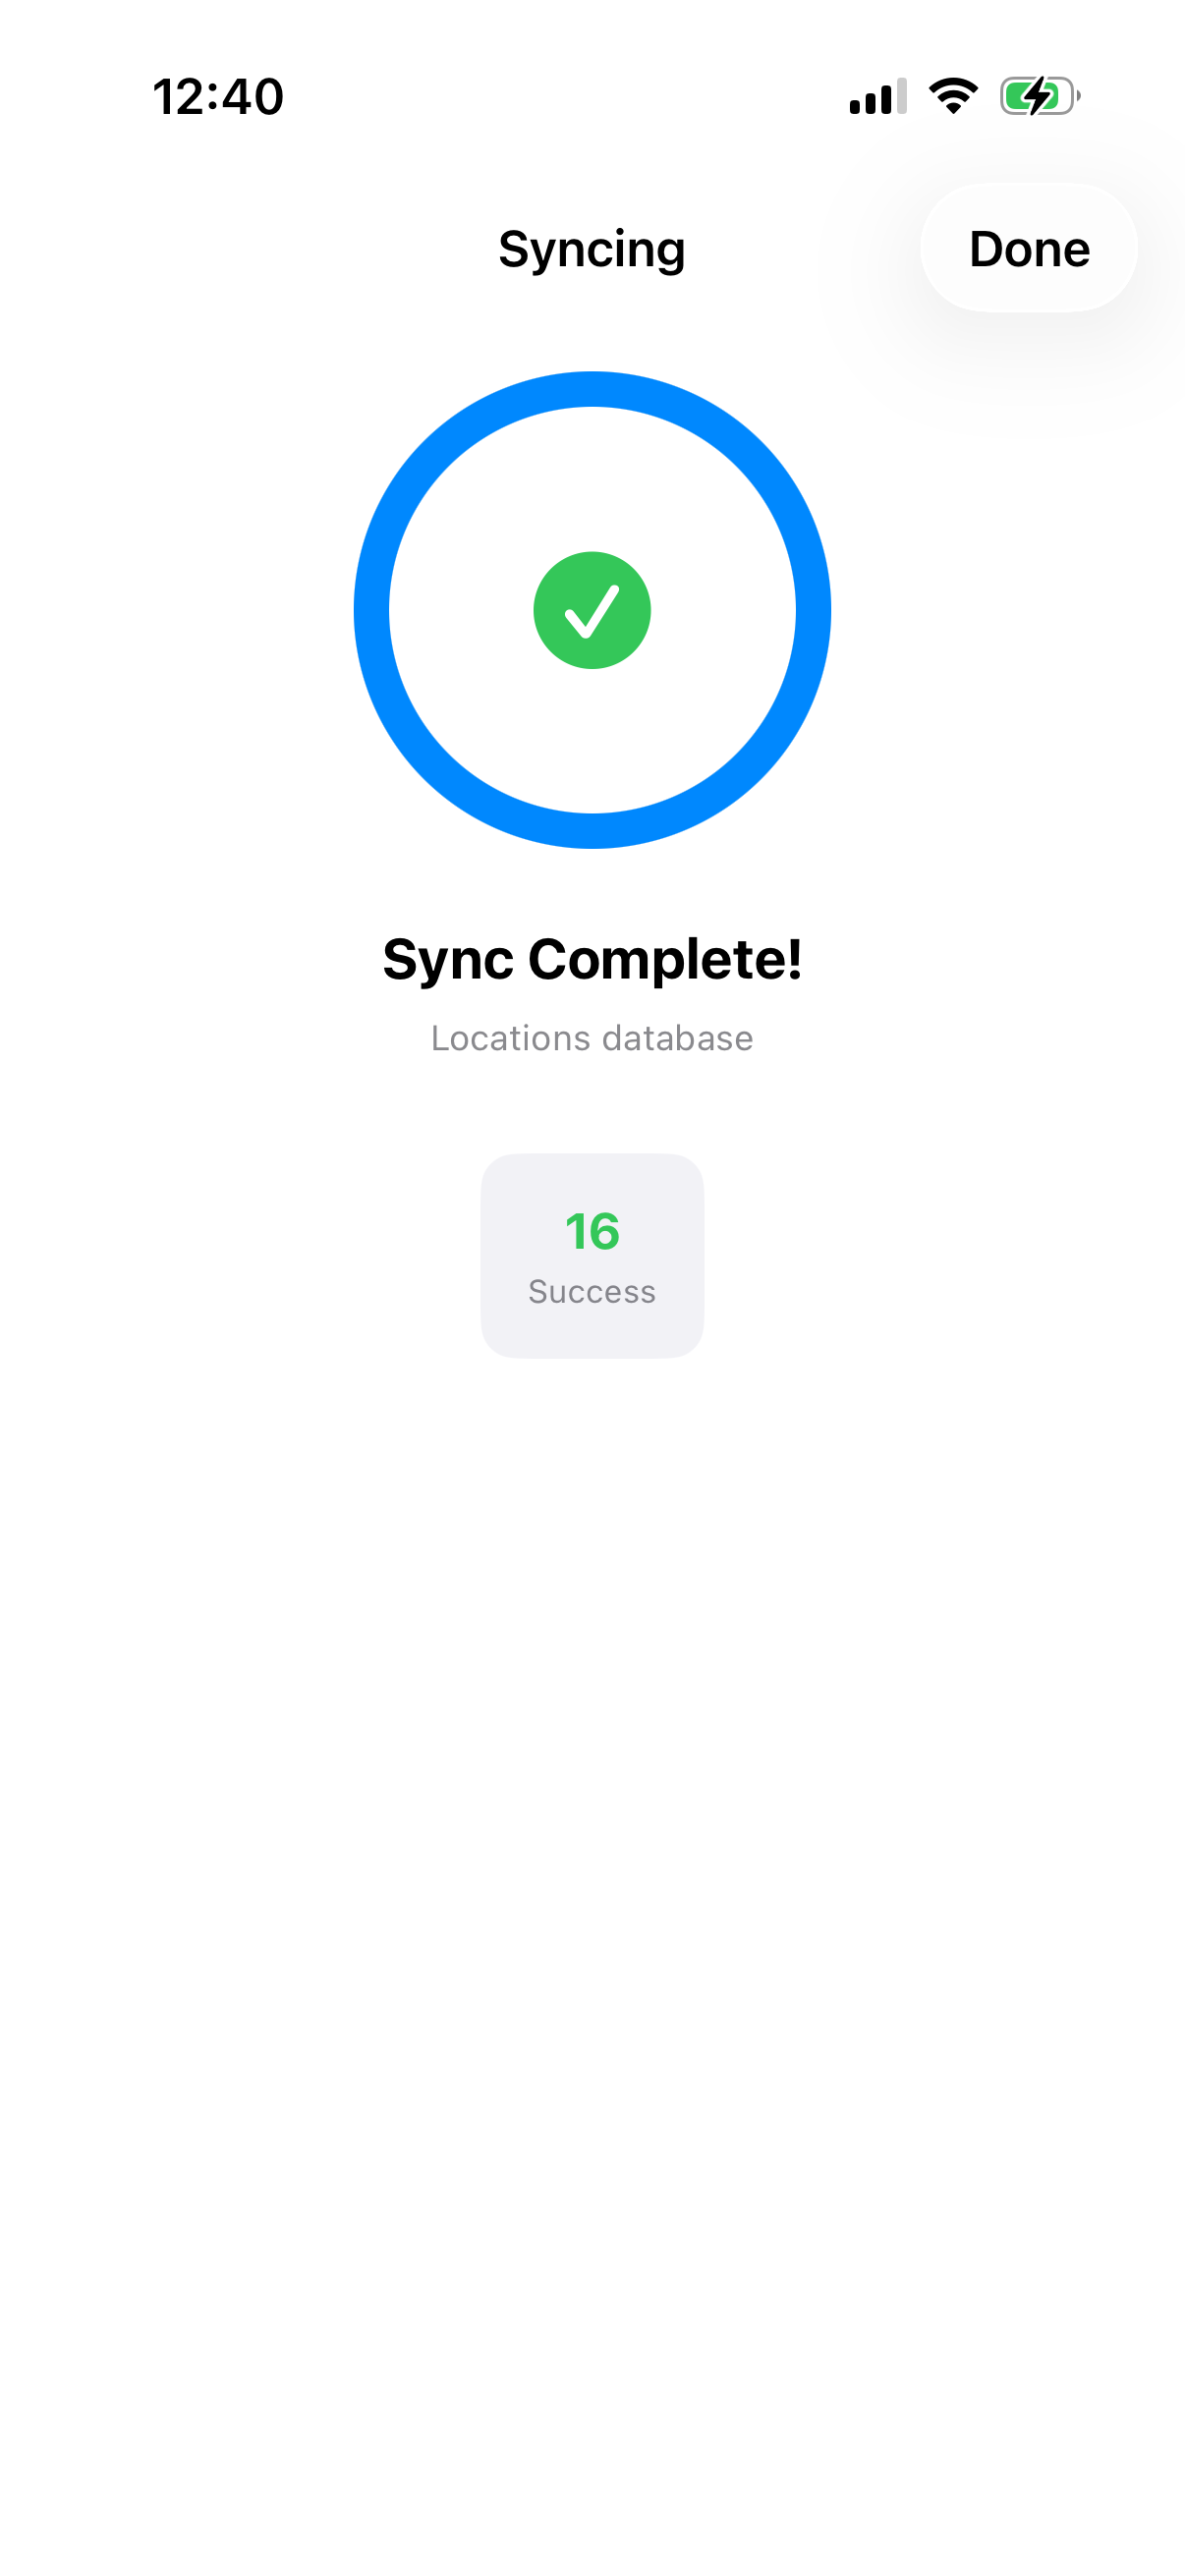
Syncing should be reasonably fast, and hopefully complete successfully

The result should be a populated Locations database in your Notion project, without any duplicates
Rinse and repeat
Once that is done, we’re going to repeat the process to add the rest of the data to the Scene breakdown in Notion. Select the Scene breakdown database in Step 1, select the same CSV file in Step 2, and click the Edit button for column mapping.
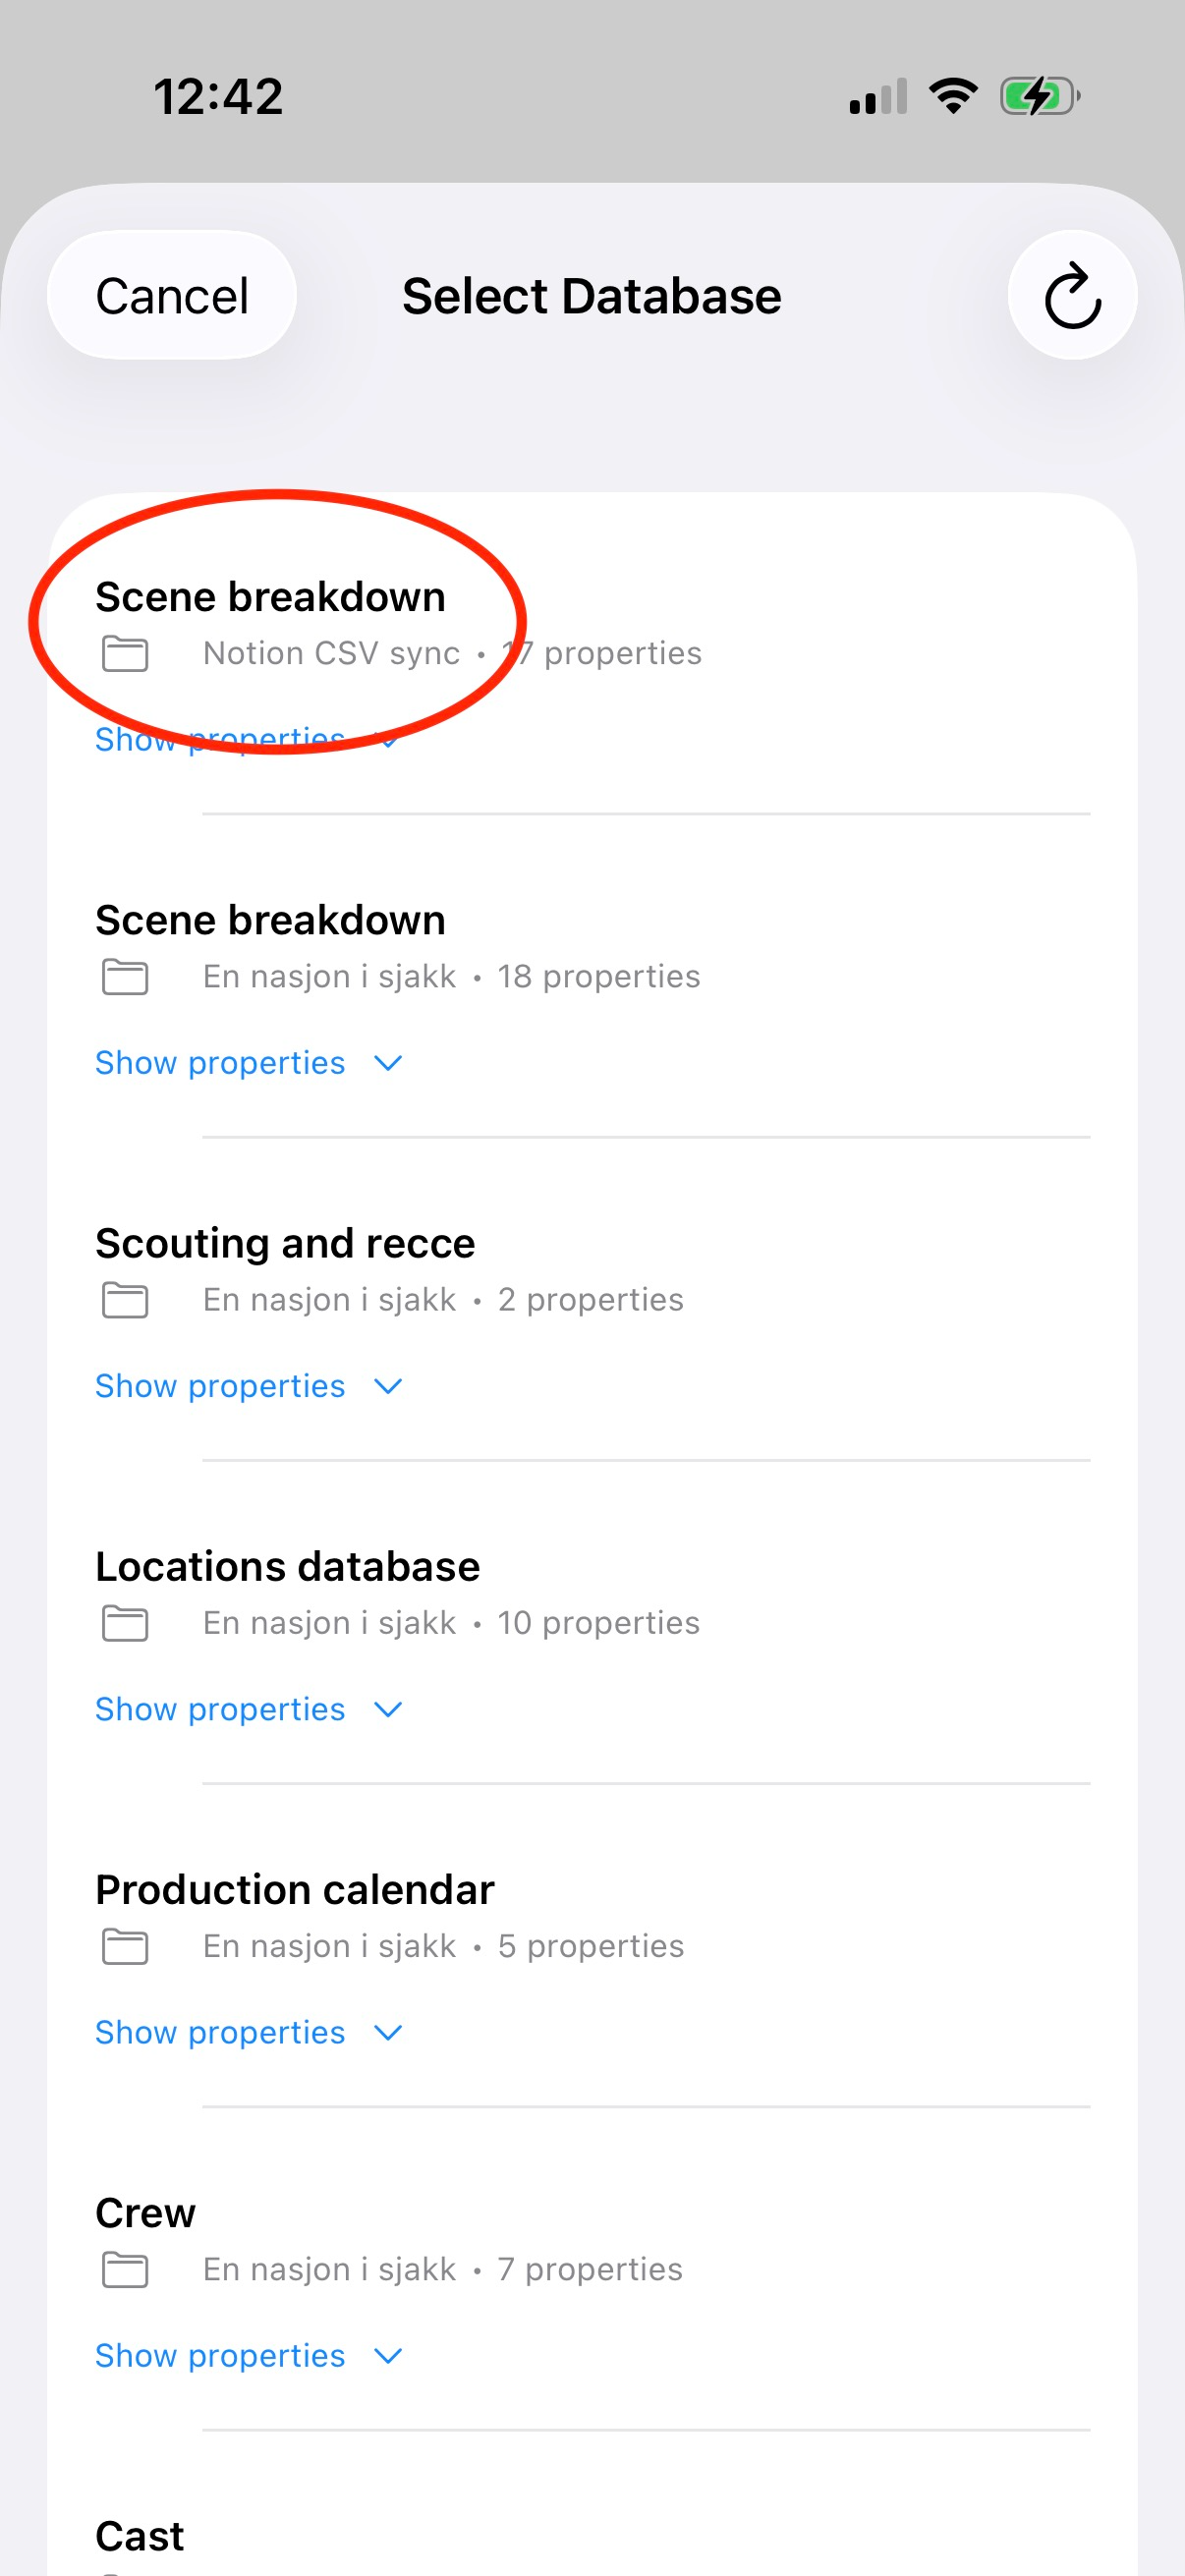
Select the Scene breakdown database
Find the CSV file

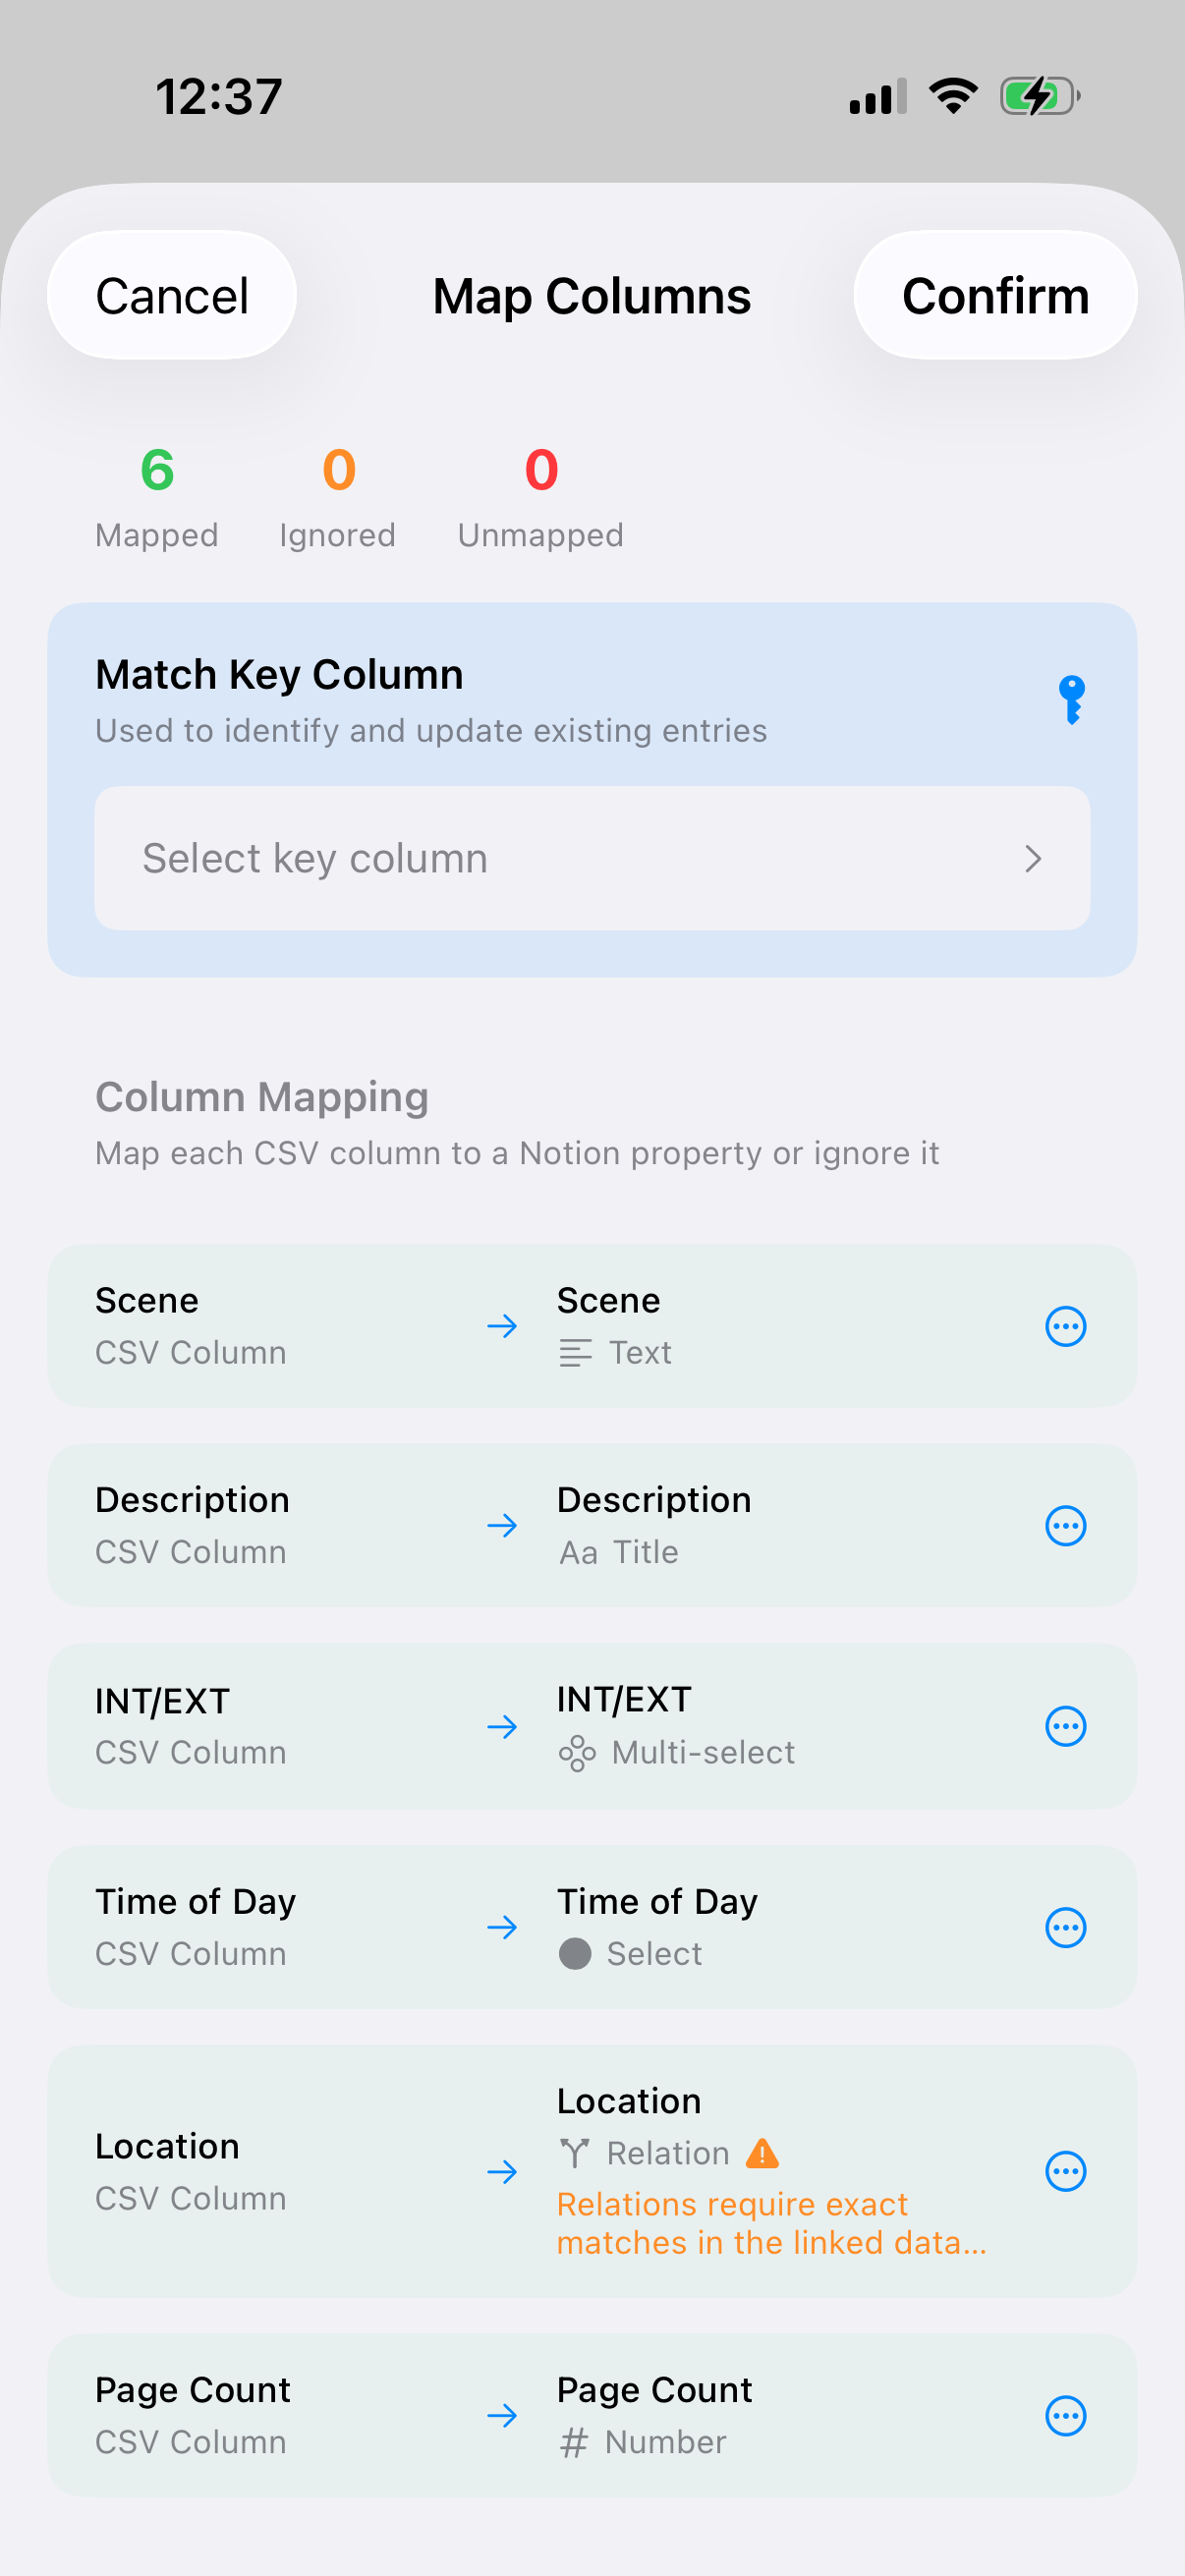
Head into the column mapping
As you can see the columns are already correctly mapped because I’ve used the same names for columns in my CSV as the corresponding property in Scene breakdown database. If this is not the case, you have to manually map the columns correctly. Also note the warning on the Locations property, which we’ve mitigated by syncing the Locations database first. We don’t need to do any filtering, so just select Add New Entries, and click Start Sync.
Column mapping happens automatically if the columns have the same name as the Notion properties

Select Add New Entries and click Start Sync
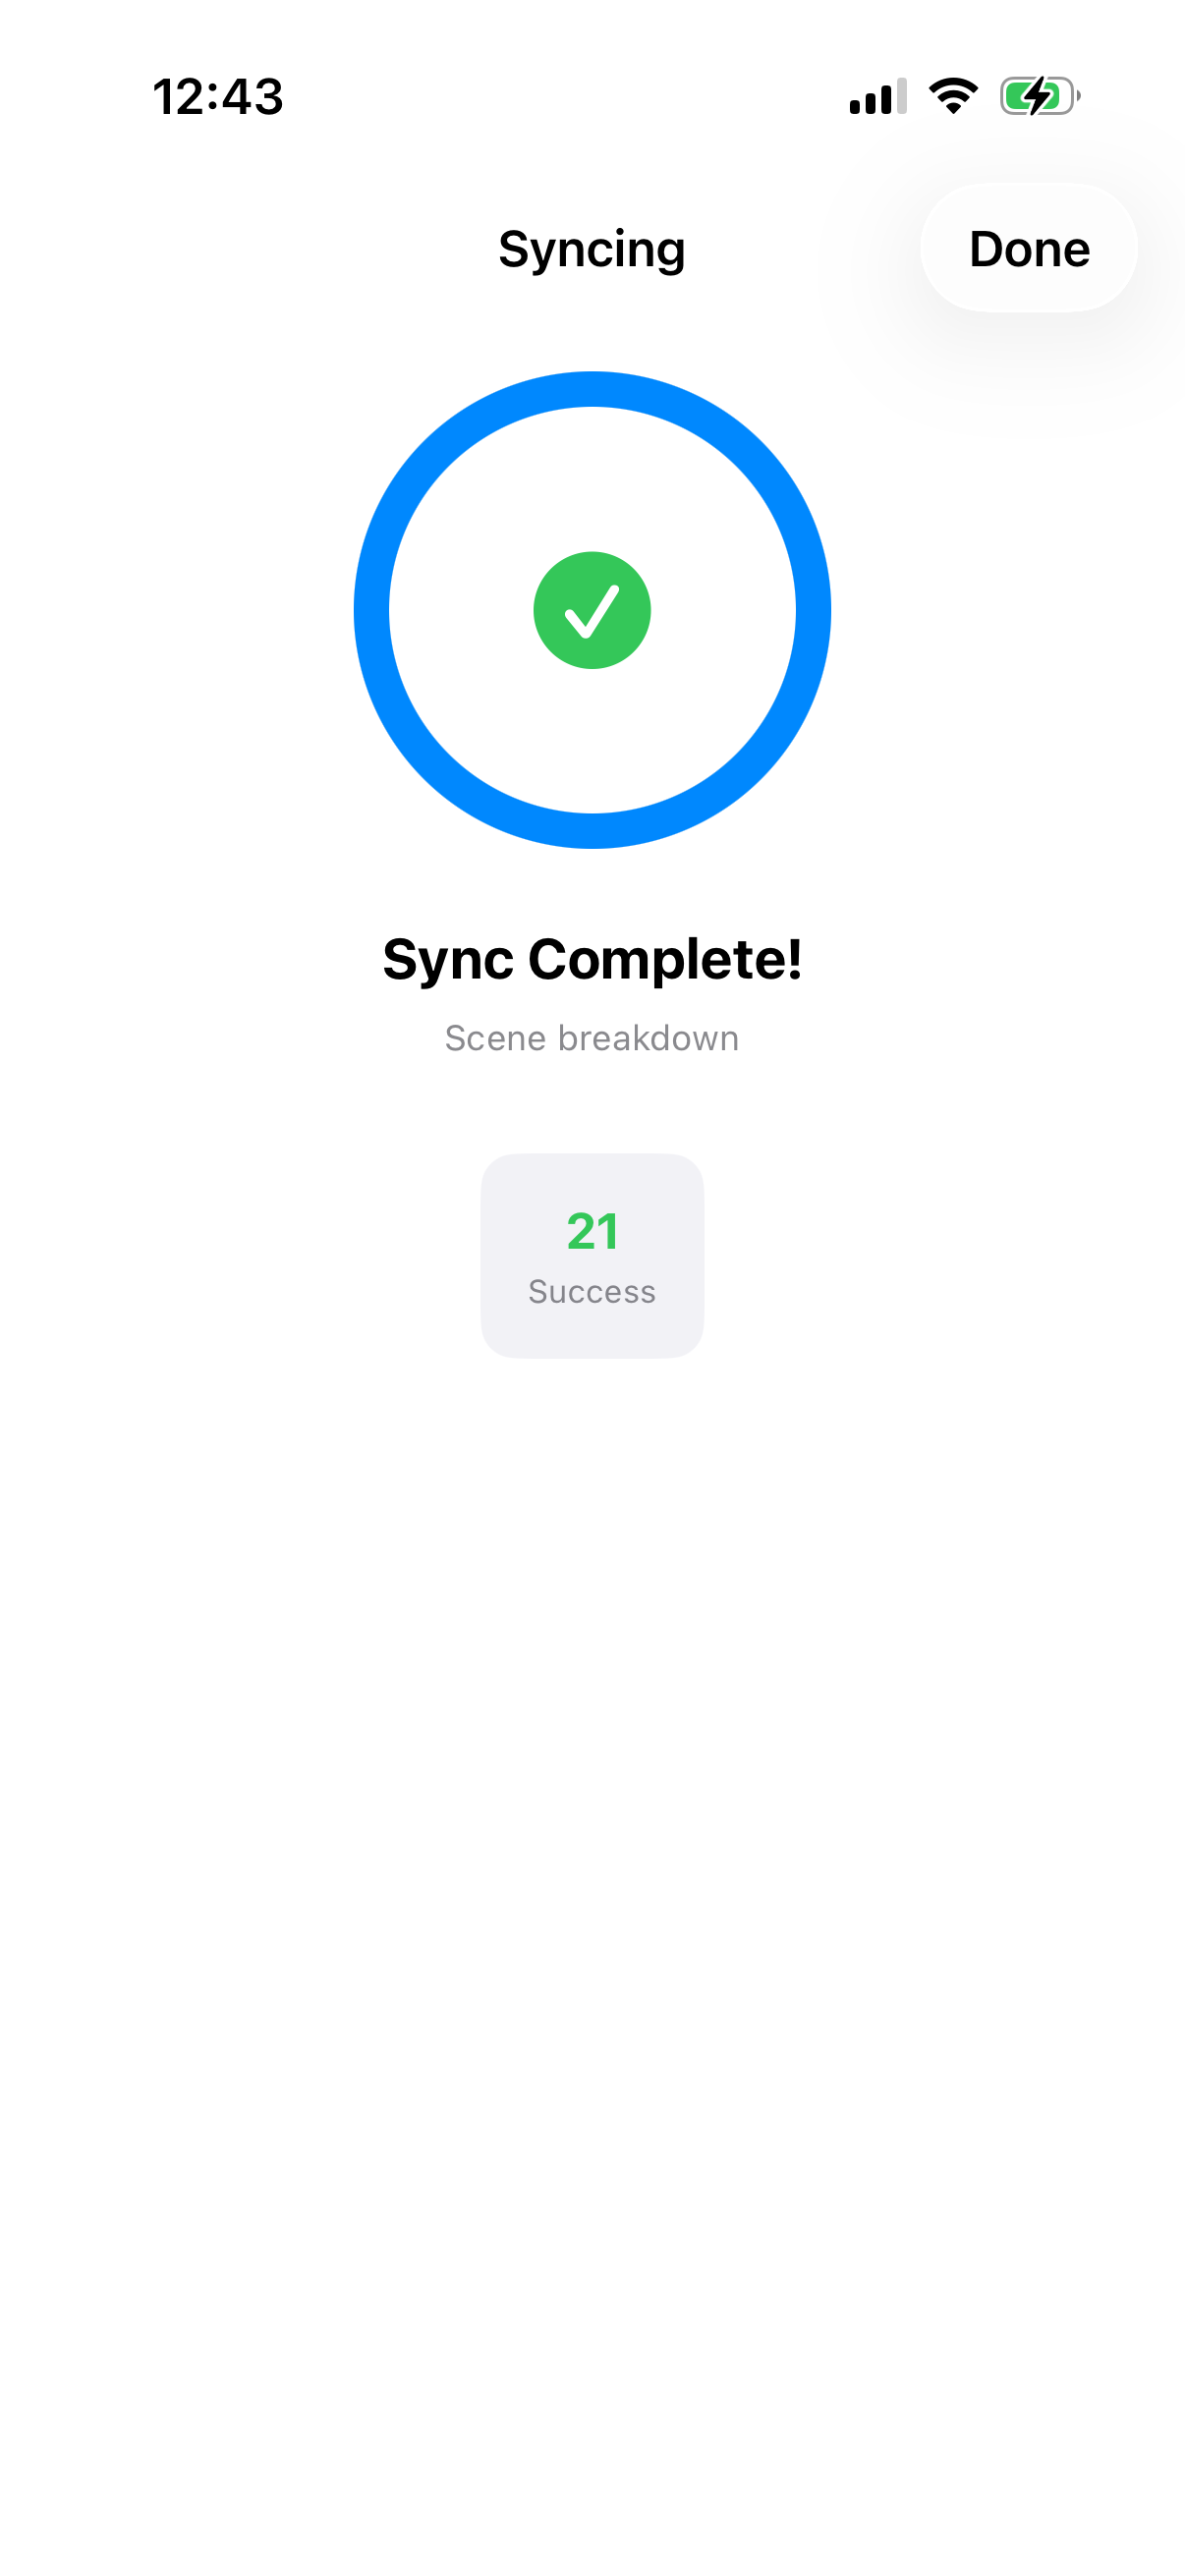
My sample CSV only contains 21 scenes, your feature film likely has more
And that’s it! You should now also have a populated Scene breakdown in your Film Production Hub in Notion.
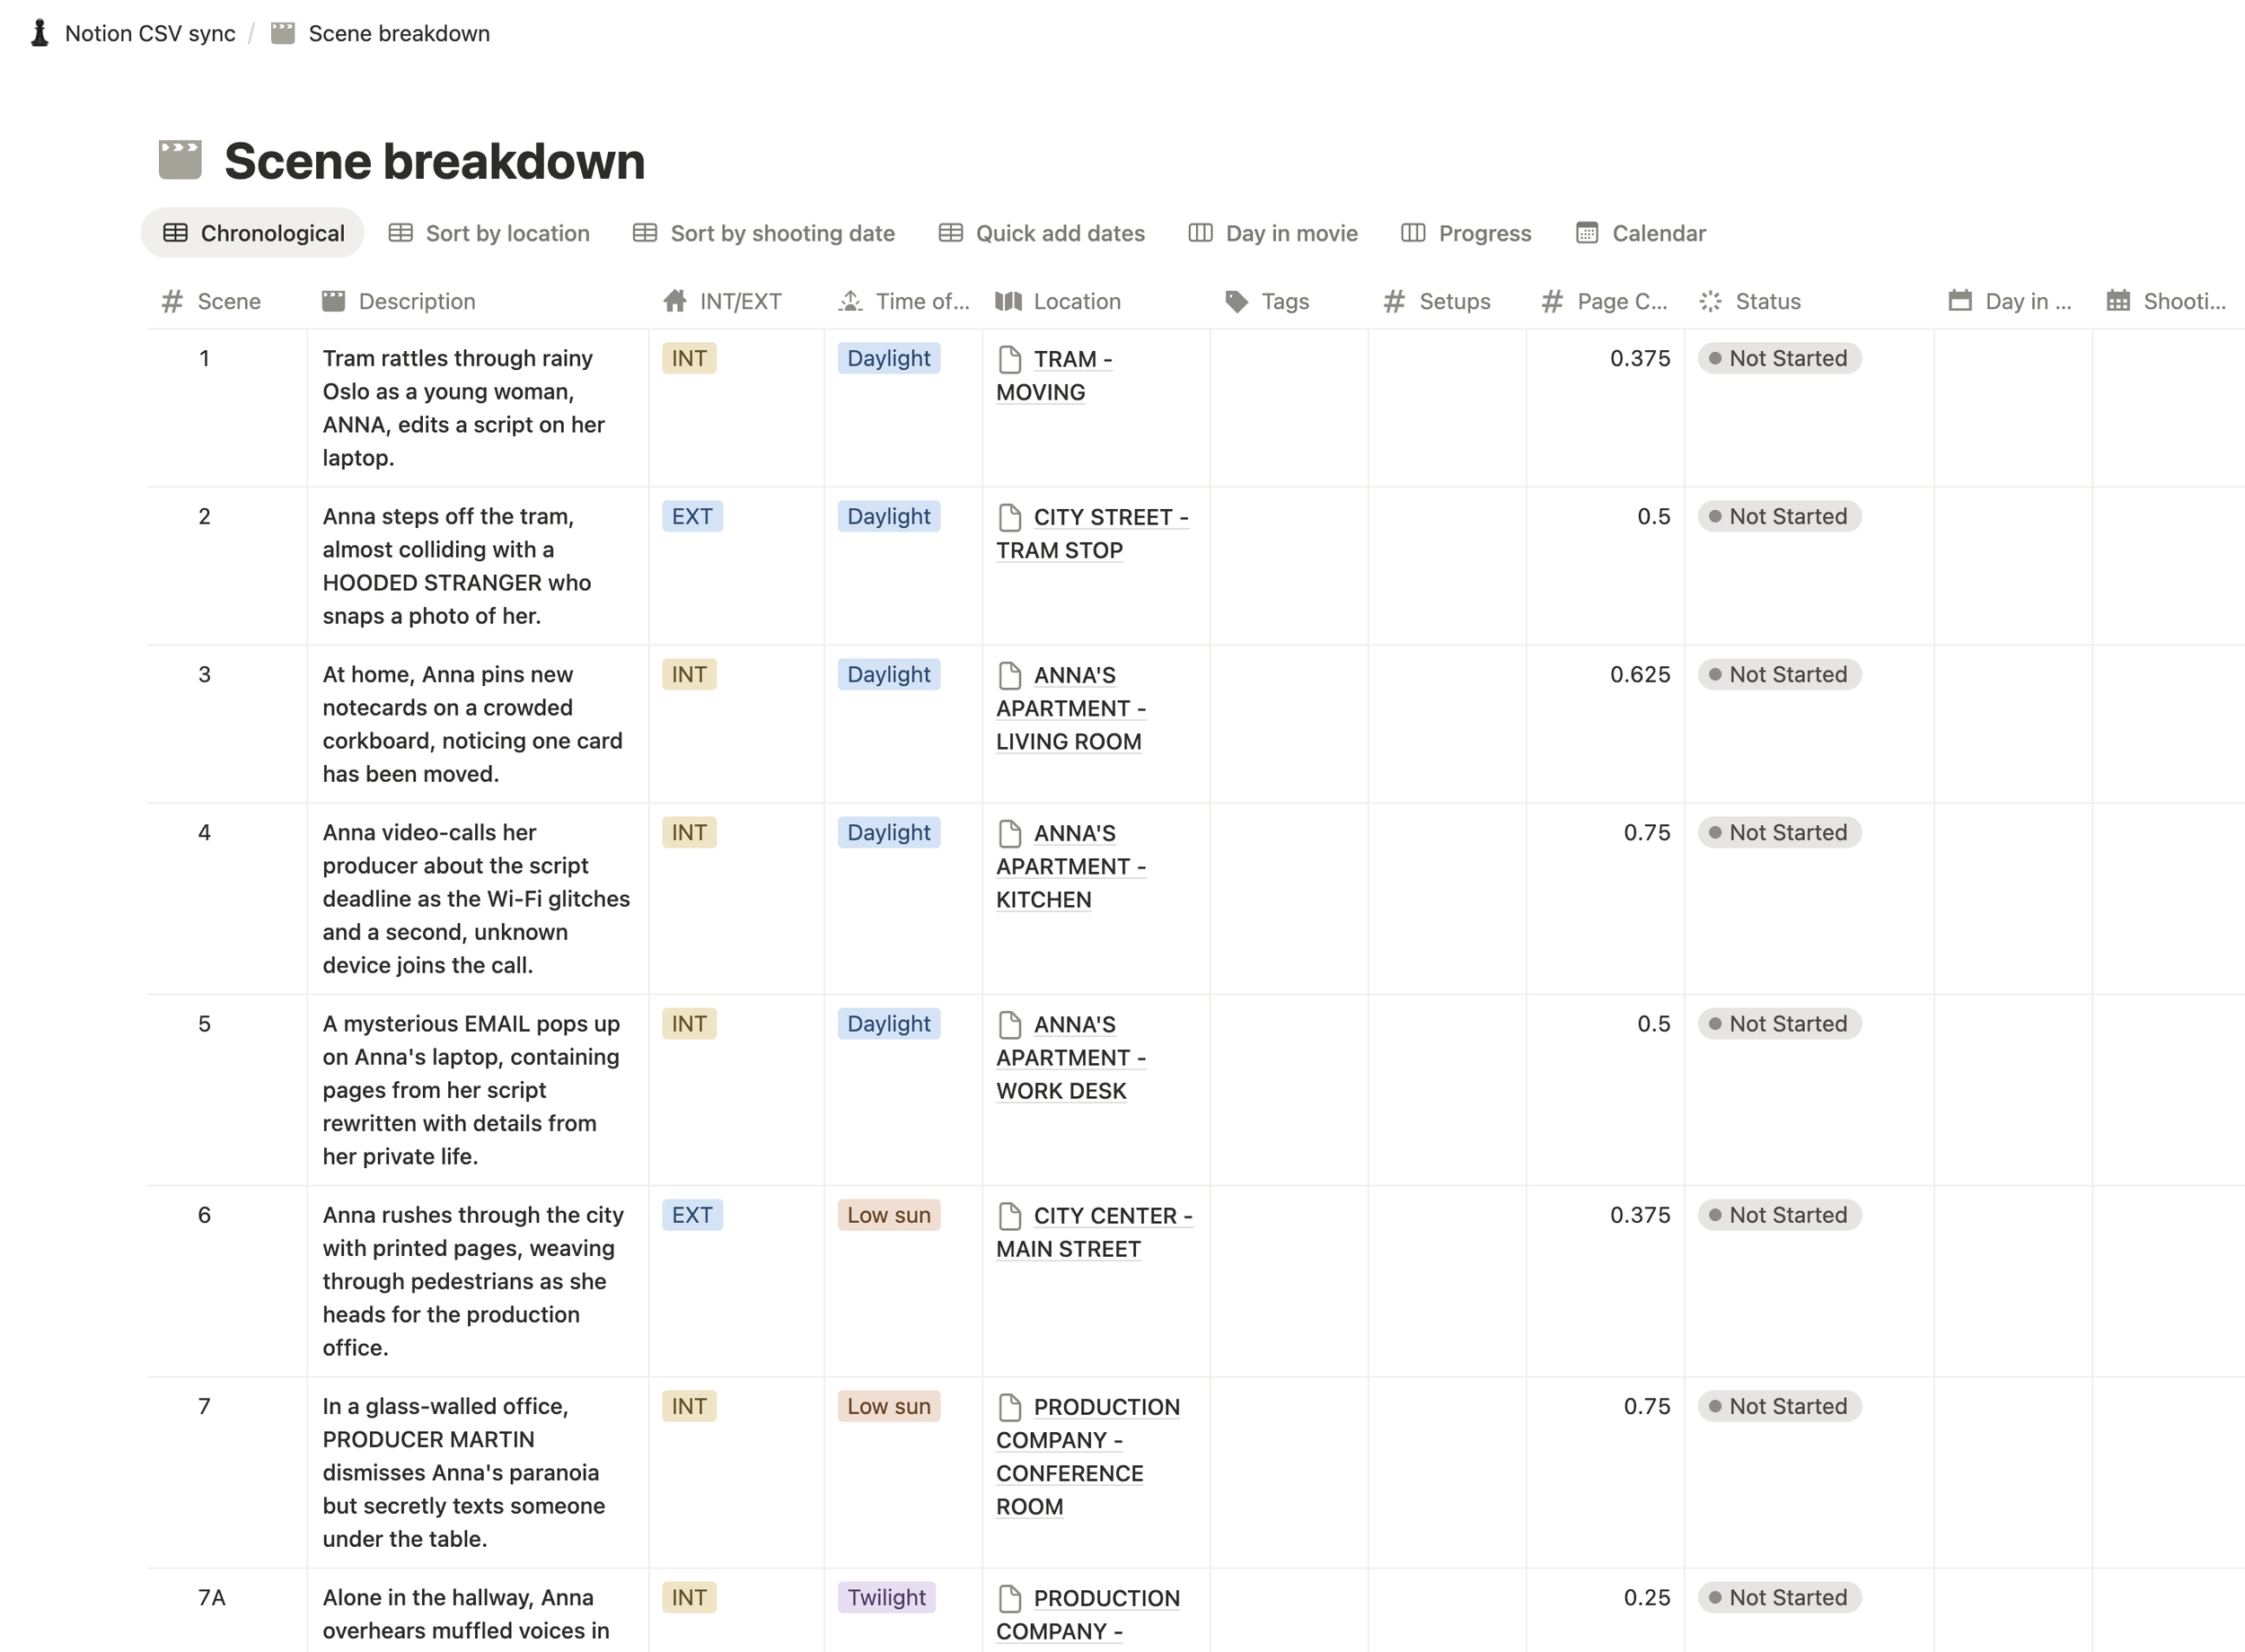
CSV successfully imported into the Scene breakdown, and ready to start the creative process
Updating with new script versions
What happens next is you’ve made a lot of nice plans in your Scene breakdown, and the script writer issues an updated script. This is where the Add & Update sync mode comes into play.
First you need to repeat the process with ChatGPT, creating a new CSV file of the new script. It might contain changes to existing scenes, it might contain some new scenes with A and B splits, and it might contain omitted scenes. You’ll need to update the Locations database first and the Scene breakdown after like last time. The process otherwise is more or less the same, but there is one thing you need to be aware of when updating the Scene breakdown.
Key column
The app needs a Key Column to know what information to update. We’ll select the Scene (scene number) column and property for this. When using the Add & Update sync mode, the app then checks if the information for a certain scene in the CSV is different from the information for the same scene in Notion, and then updates it with the new data. The work you did within the scene in Notion stays the same. All the scenes that don’t have changes stay the same. New scenes are then added as new entries in Notion, alongside the old ones.
I do recommend duplicating your project in Notion as a backup before attempting an Add & Update operation, just in case!

Click Key Column
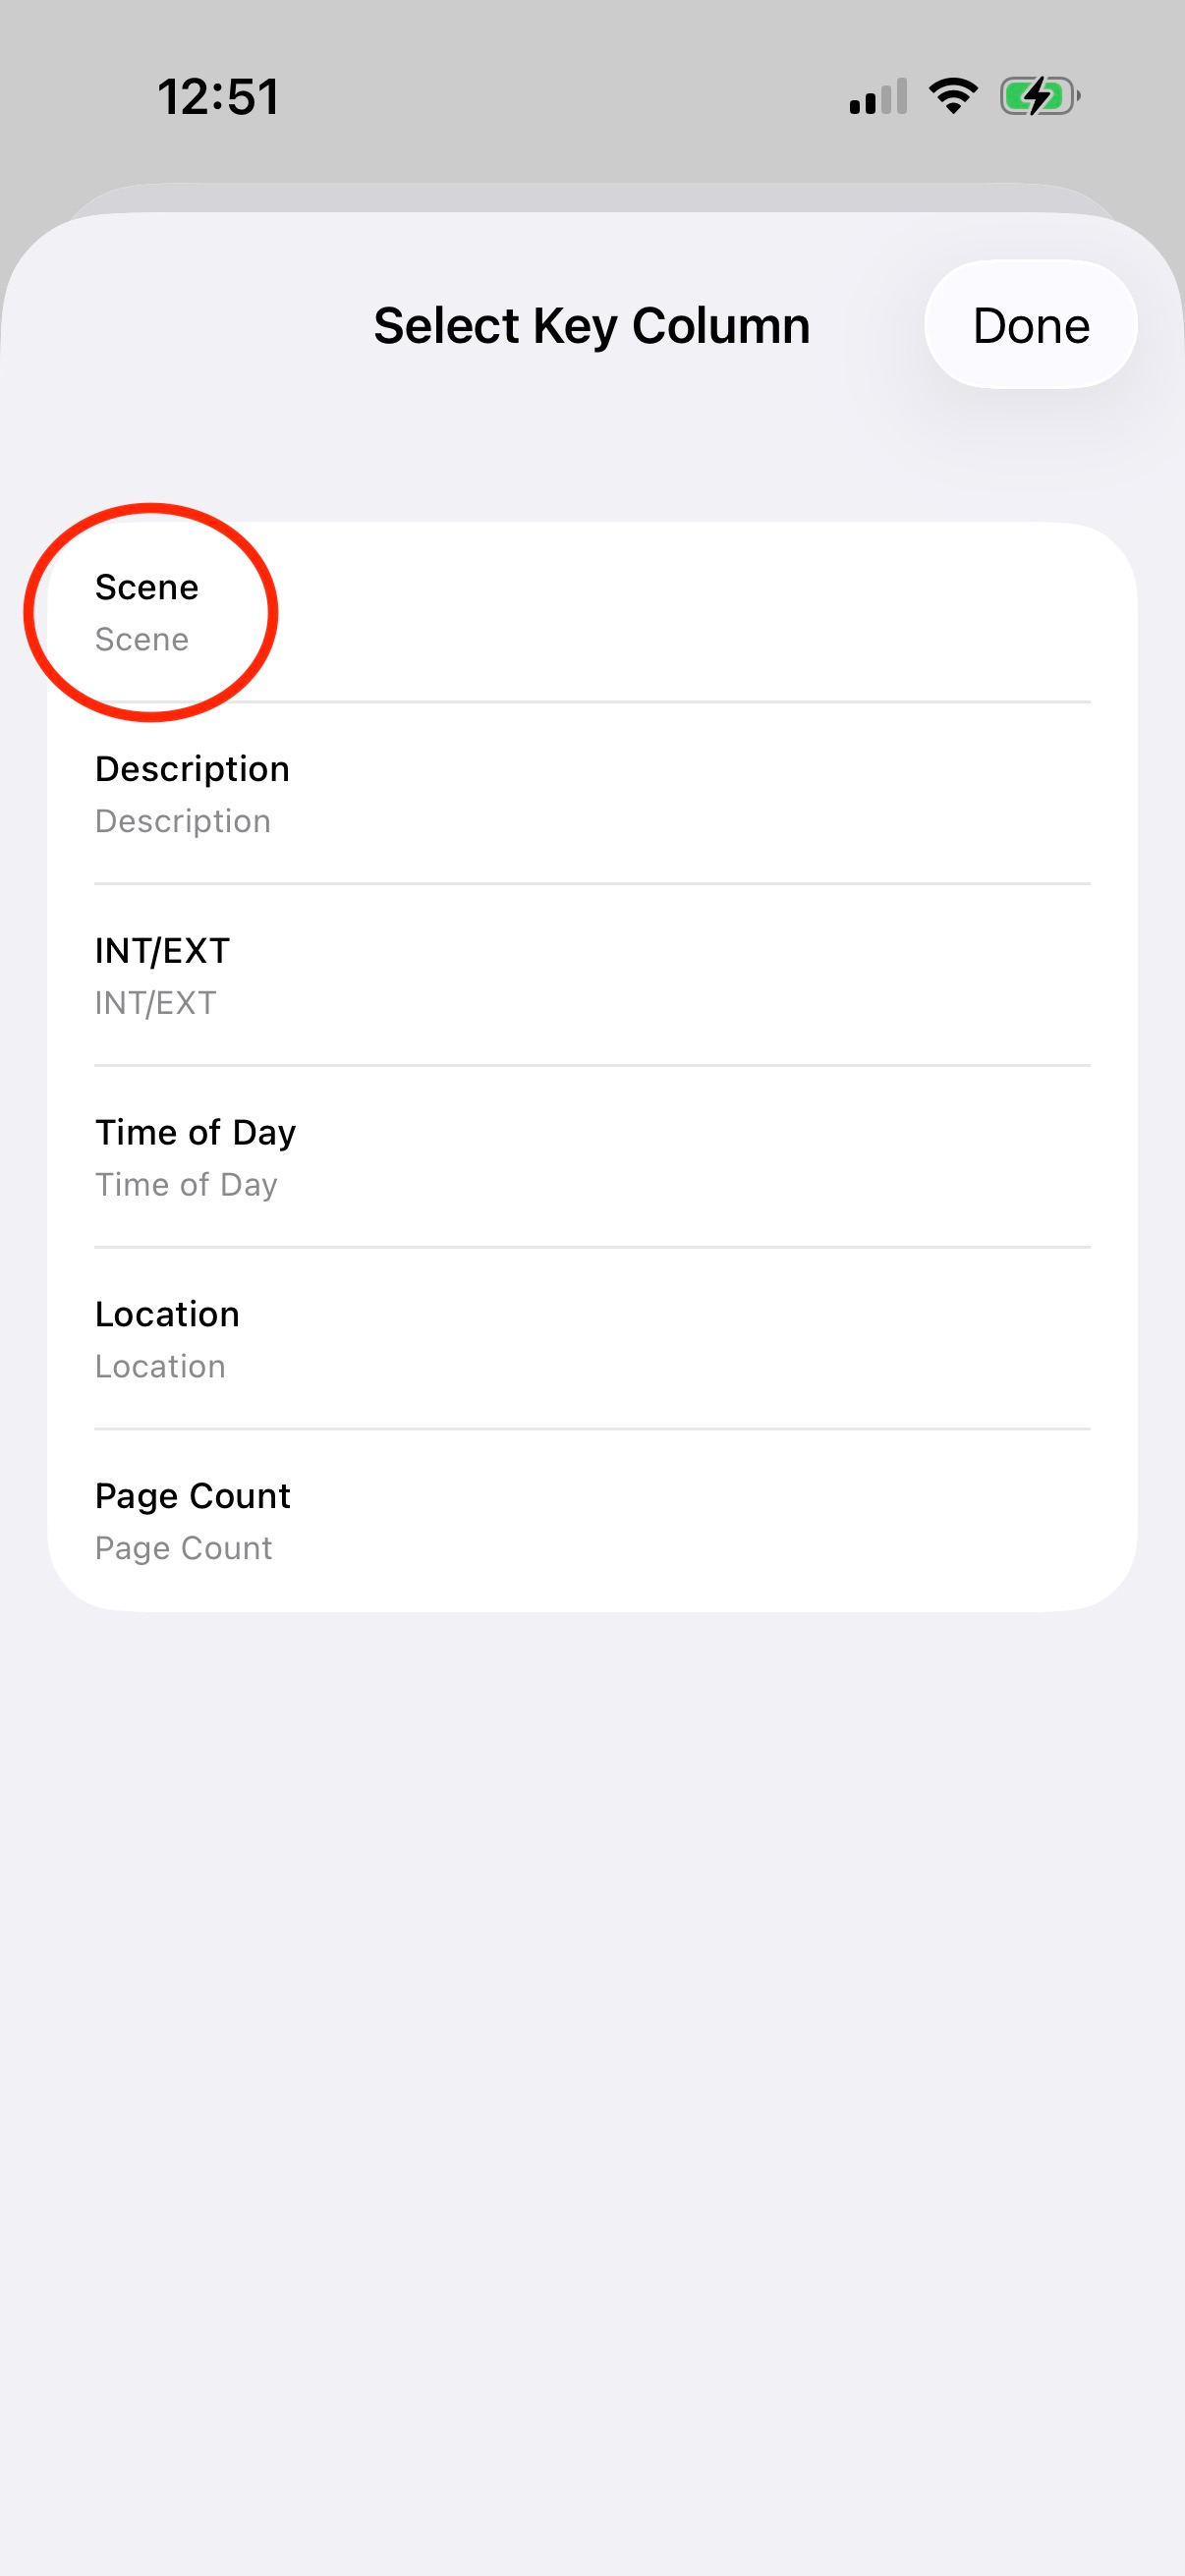
Select Scene
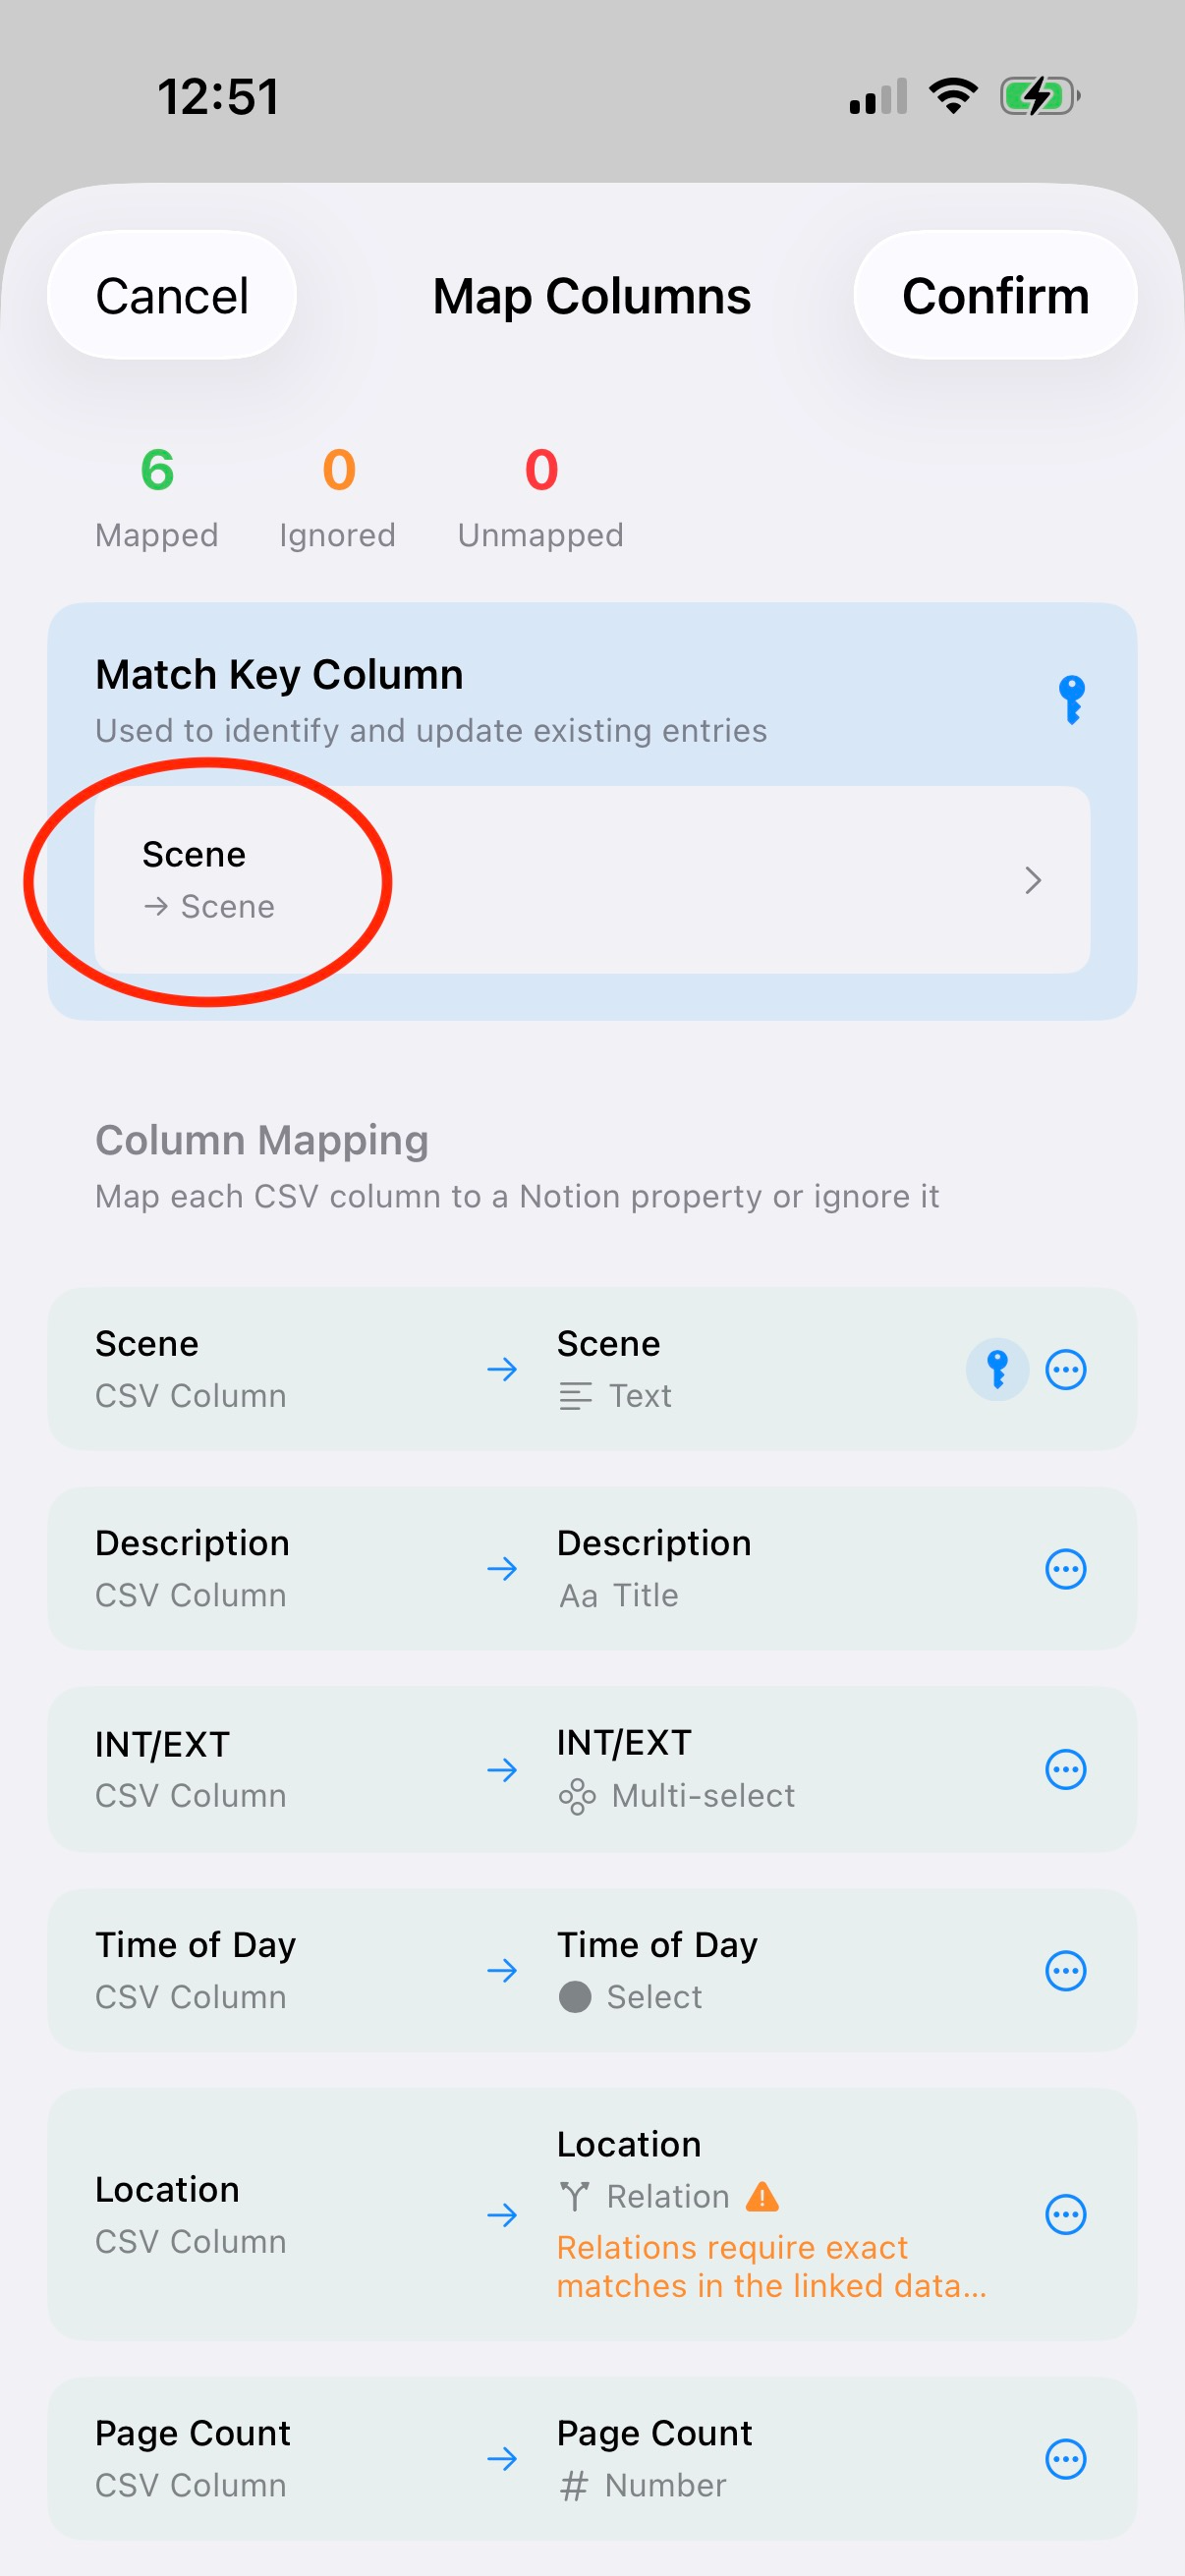
Make sure columns are otherwise correctly mapped
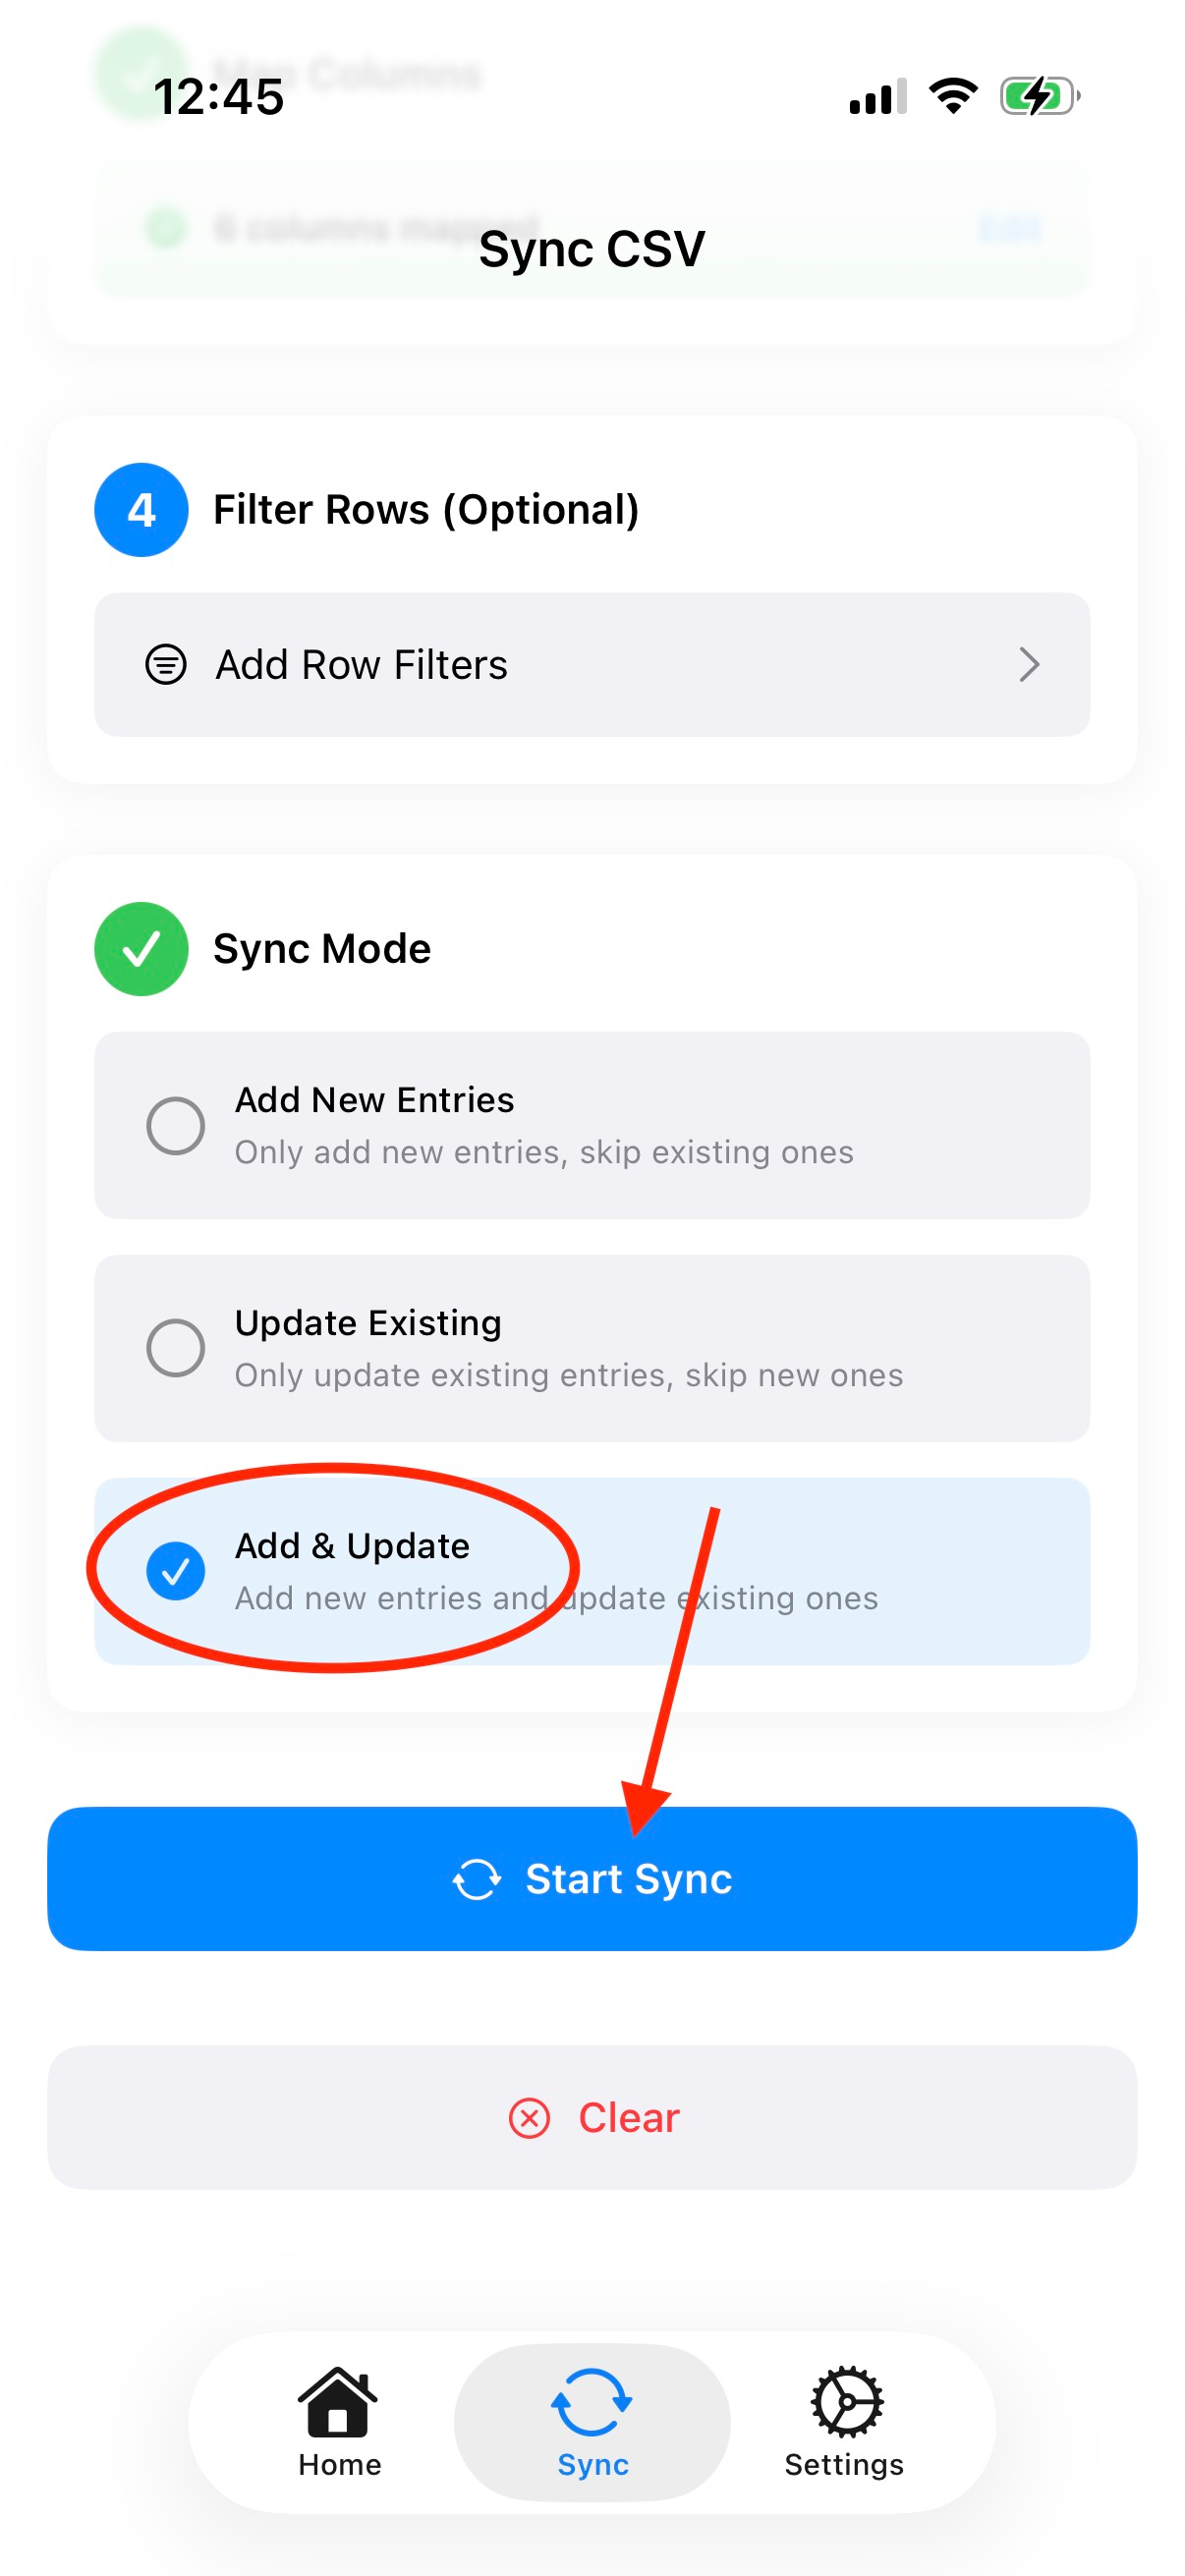
Select Add & Update as sync mode
It’s a wrap!
So, that’s it! You now have a powerful tool to automate script breakdowns and updates in my Film Production Hub. You can also use the same app with whatever other system you have in Notion, maybe you’ve made your own template, or bought one from somebody else. The app is a universal tool that can be integrated into any Notion workflow that requires data entry and where CSV is an option as an intermediate.
I really wish I could do the same for schedule updates from Movie Magic, but haven’t figured out any way to get any useful format out of Movie Magic yet. PDF sadly is too difficult for me to reliably parse and create datasets from. But hit me up if you have an idea or suggestion!
I’ll most likely also create a separate app to do the FDX to CSV conversion, so stay tuned for updates!